Trials and Tribulations with Rebuilding CT90 Speedo's
I currently own a number of CT90's and a few of the bikes have a loose indicator light lens in the speedometer assembly that I need to fix. I have never opened up a CT90 speedo, but I have speedo's off of three 1969 CT90 project bikes I picked up a few months ago that all have loose indicator light lenses that needed to be fixed, so I figured their as good as place as any to start building my knowledge and experience. I'll also admit that things didn't go as well as I would had liked and I definitely have learned a thing or two that I won't forget anytime soon.
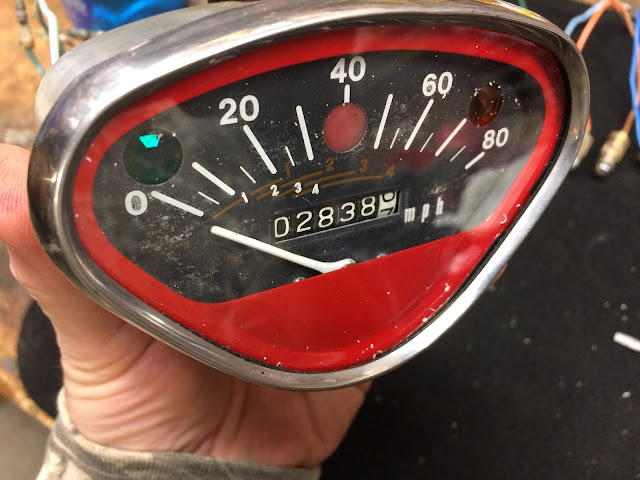
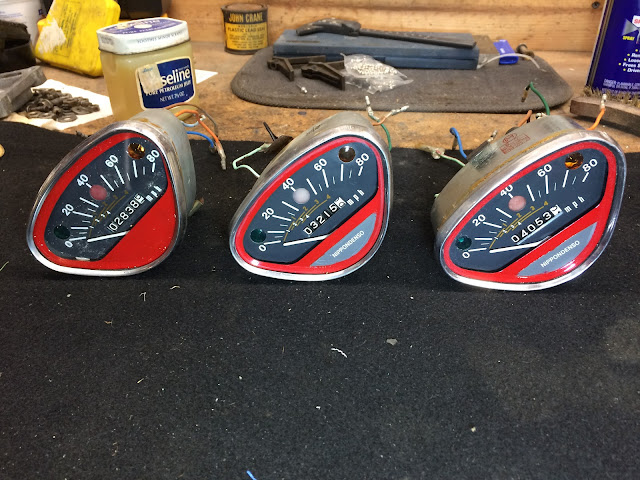
Here is a shot of the three speedo's off of my 1969 CT90's that I will be rebuilding;
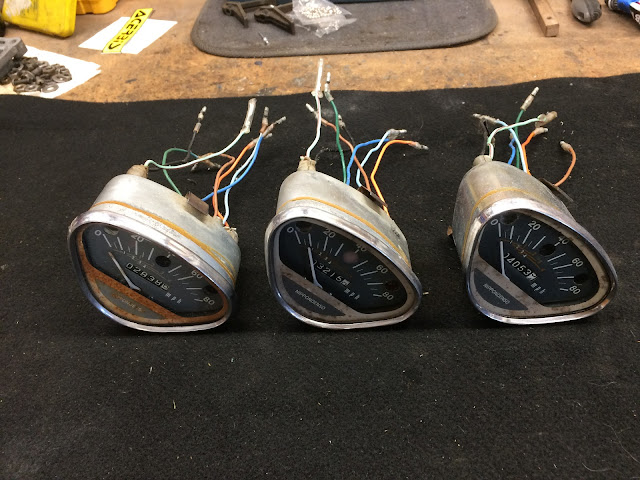
In general the speedo's are not in two bad of shape, but the one on the left in the picture above seemed to have the most issues, so I figured it was the good first candidate for me to get my education with.
I did get a lot of good information from a post by ctbale on hondatrailcts that really helped get me started with the rebuild of my speedo's and it worth looking at if you plan on taking on this effort yourself.
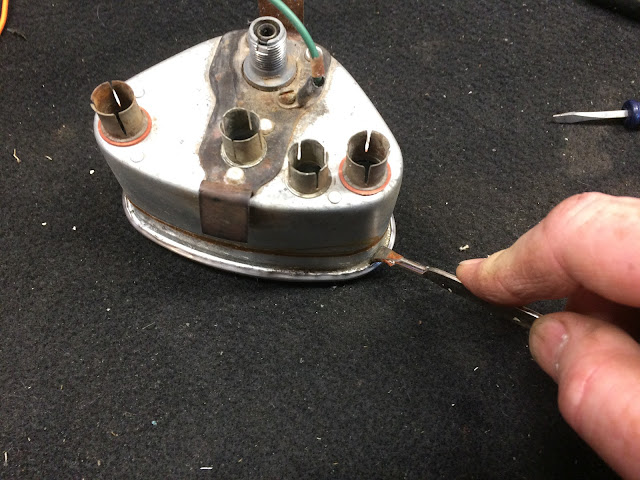
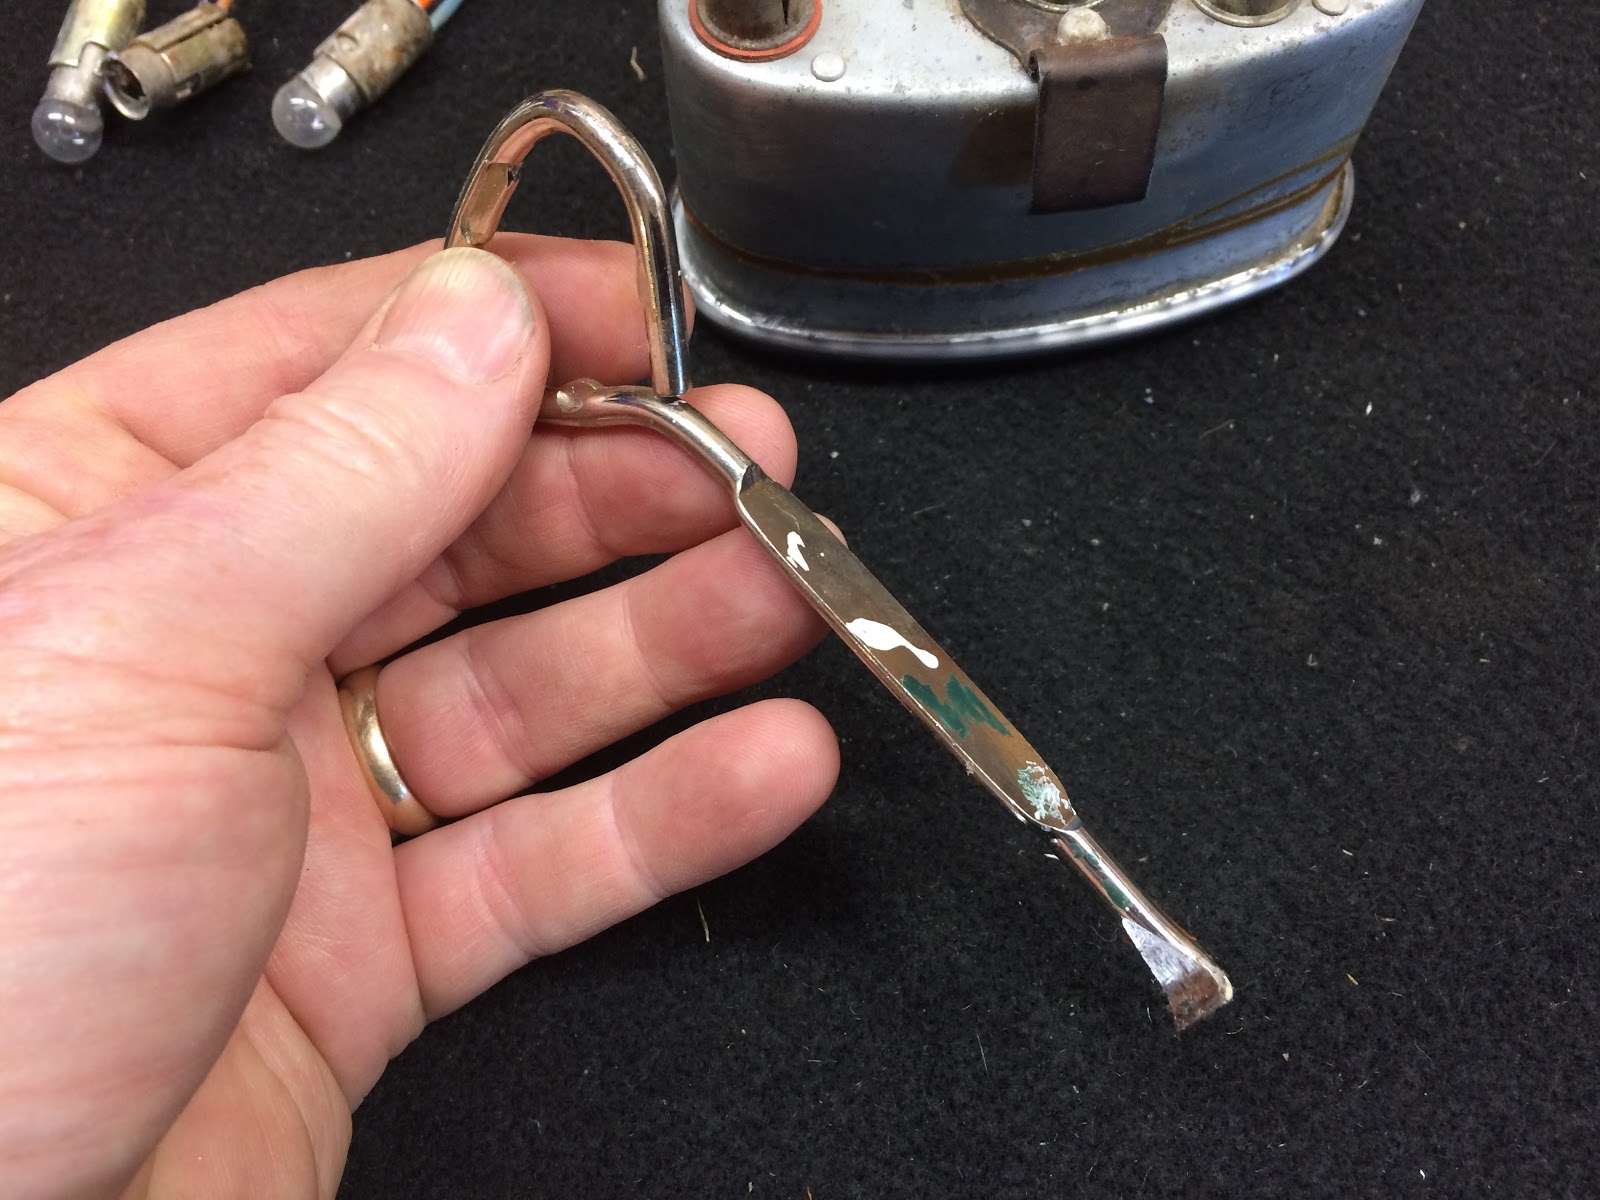
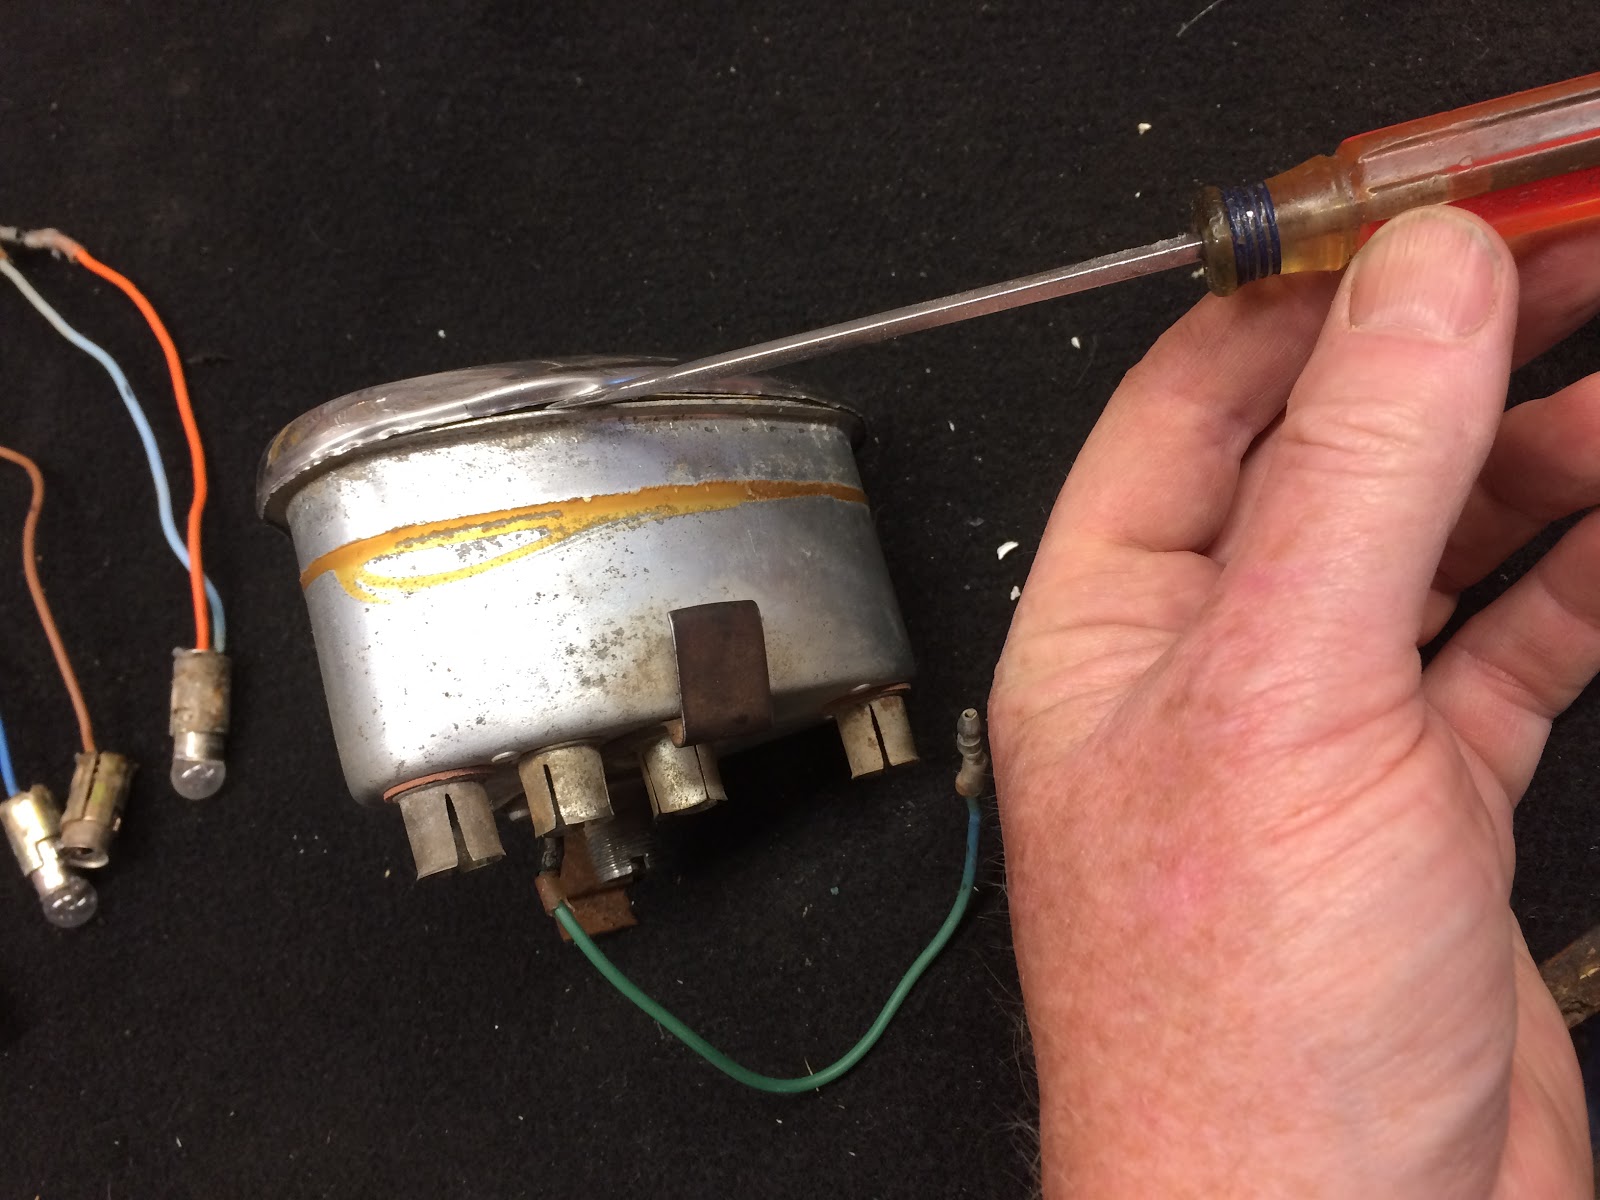
After first removing the light bulb sockets from where they are installed on the bottom of the speedo the first real task is to remove the trim ring that holds the glass on the front of the speedo and this involves carefully bending up the lower lip of the trim ring. In looking for the right tool to pry up the lip I found that a cheap paint can opener like you can pick up at Home Depot for a buck works just perfectly.

Look for one that has a thin edge so it will slip easier under the lip, but just insert and then work your way around the lip prying up as you go.

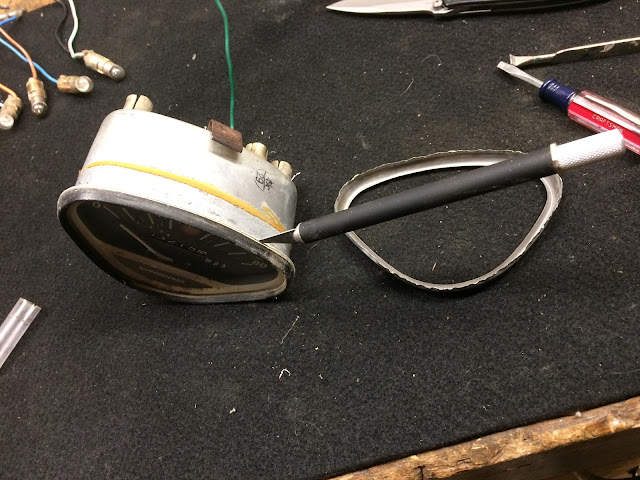
Once you get the lip of the trim ring opened up you should be able to work it off the rim of the speedo housing. Now you shouldn't do what I did which is insert a screw driver and gently try and pry the trim ring off as I inserted the screw driver in just a little too far and ended up breaking the glass on the front of the speedo (life sucks sometimes...).

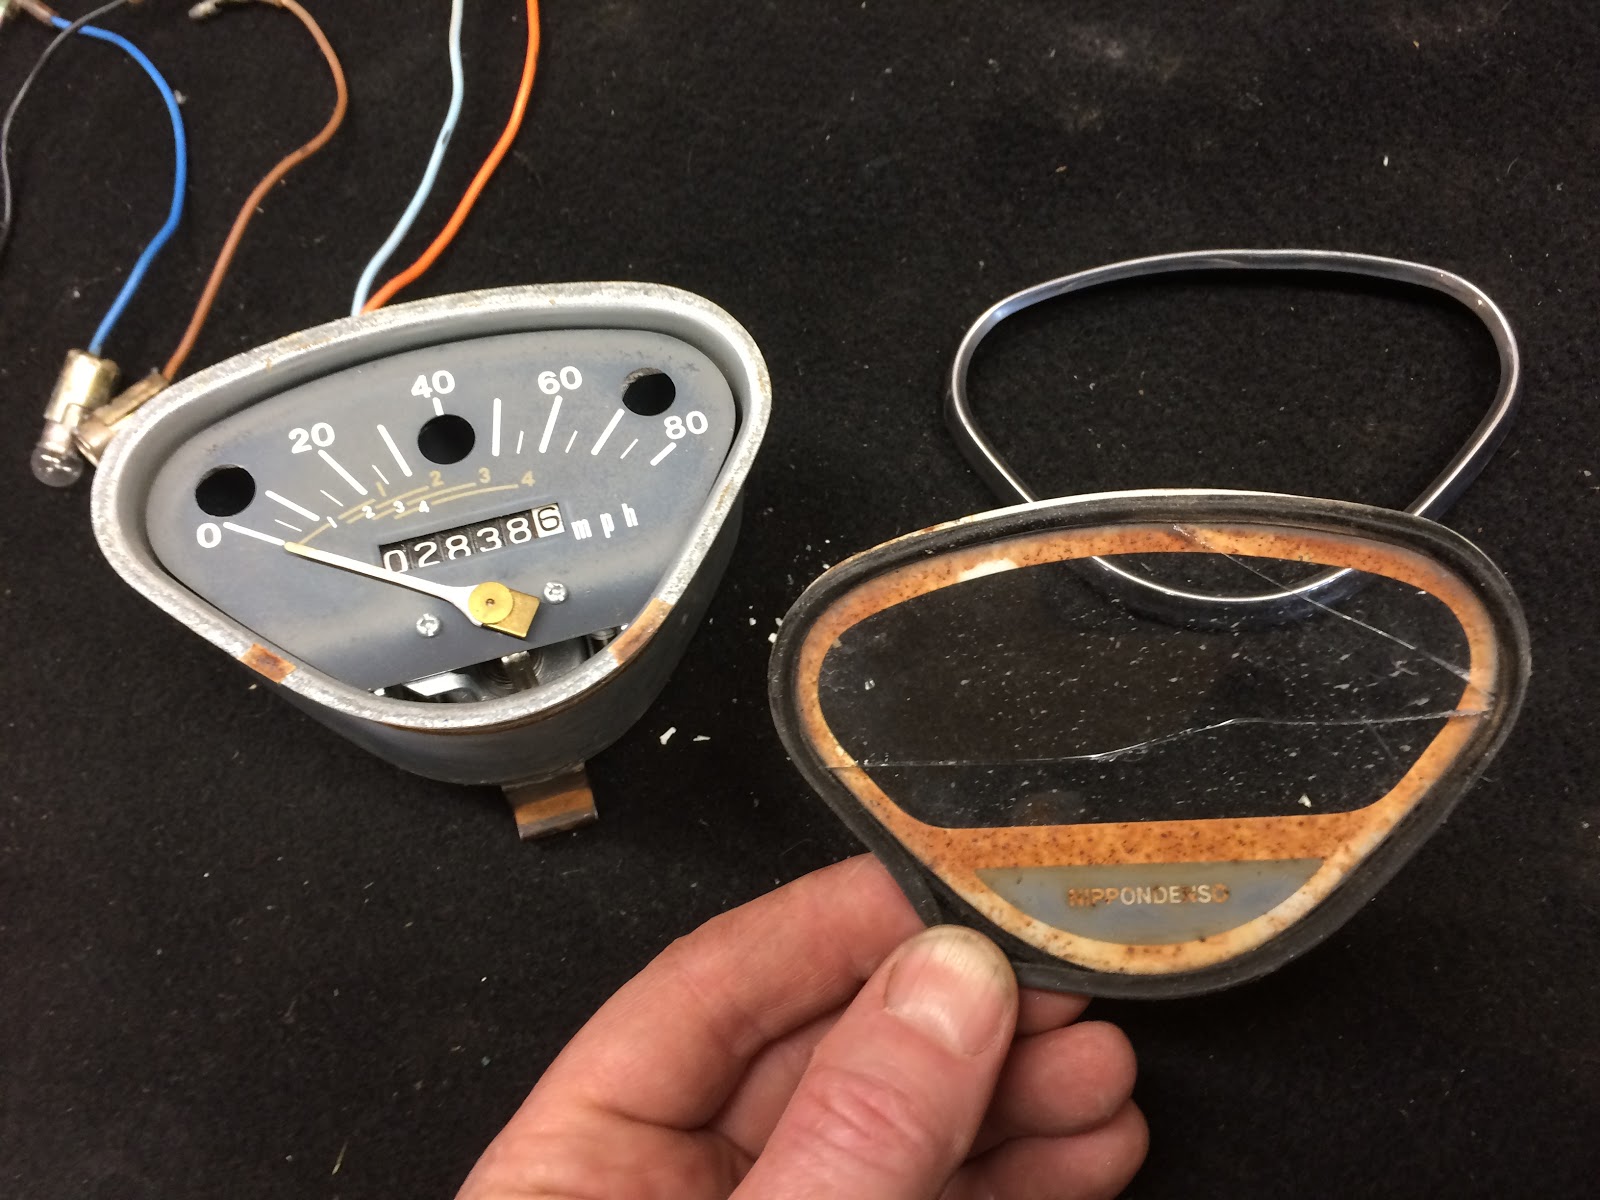
Once the trim ring has been removed, the glass which is in a rubber ring, and the plate underneath should separate from the speedo body. If they don't then you may need to take a razor blade or Xacto knife and work it in-between the paper gasket under the plate and the speedo body to free them up.
In the end you should have the pieces below except for the broken glass.

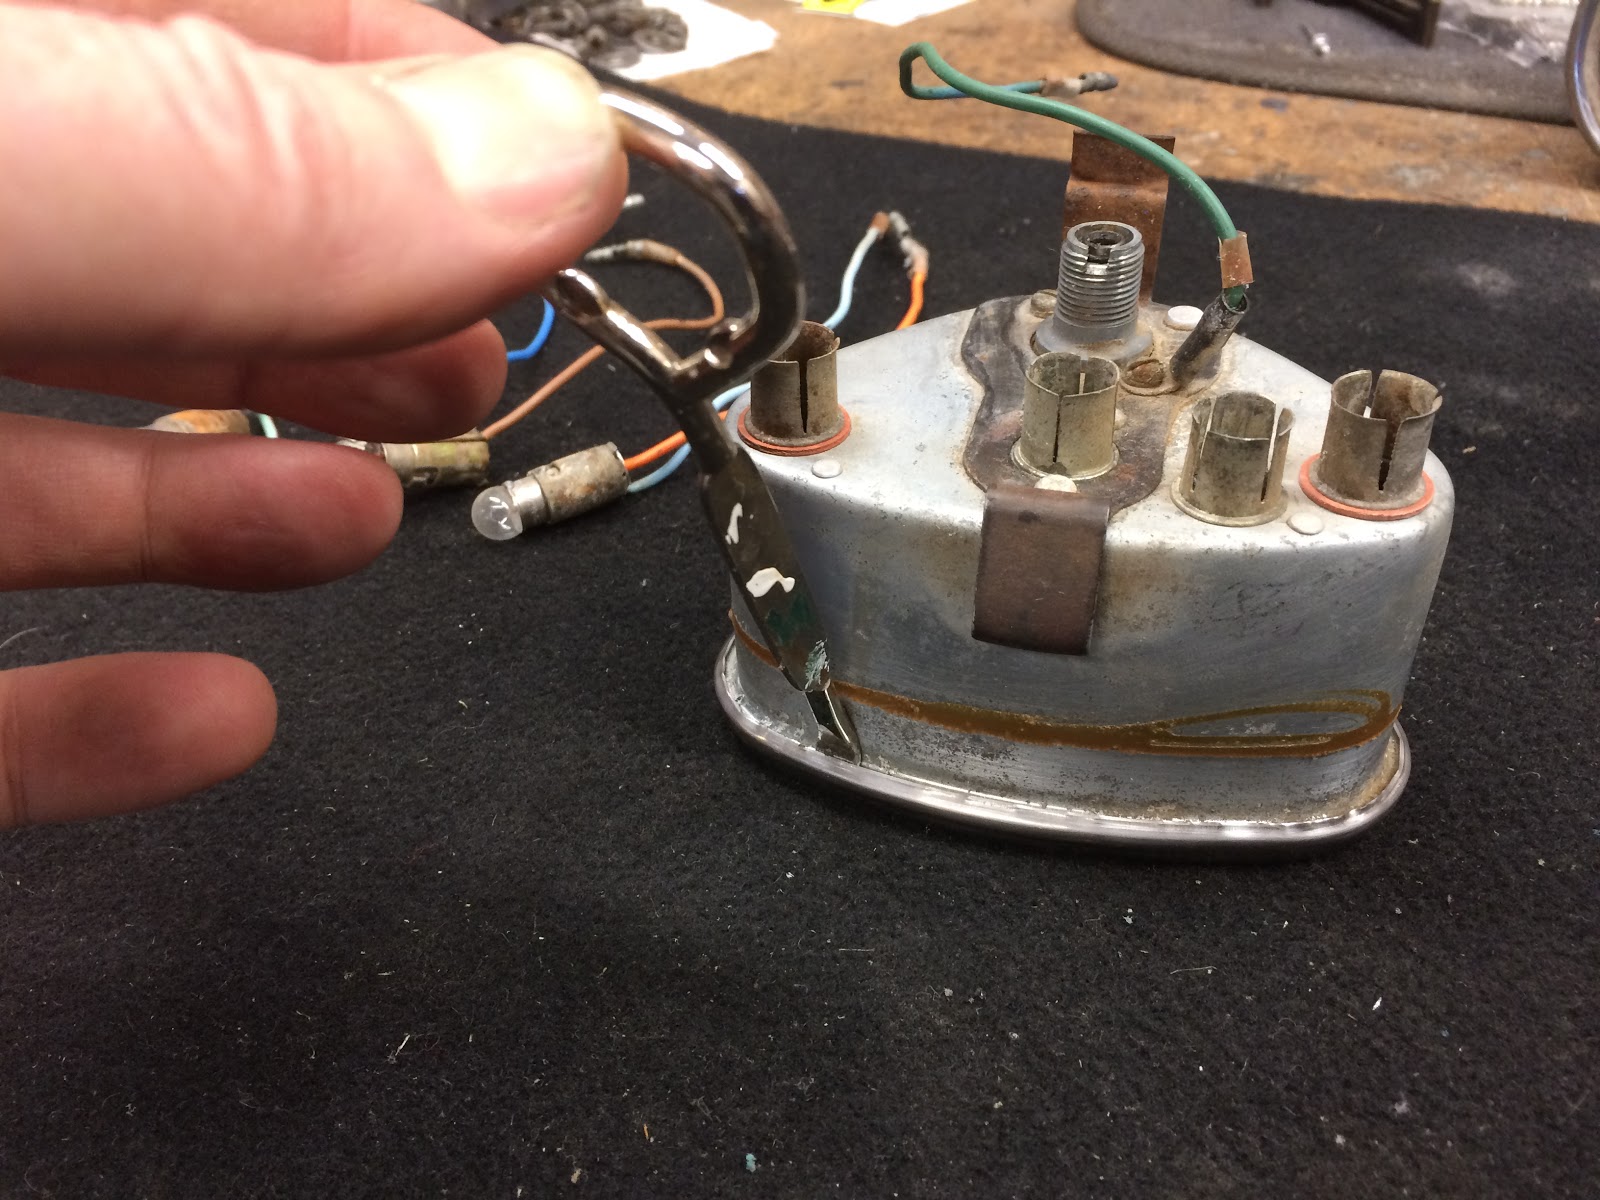
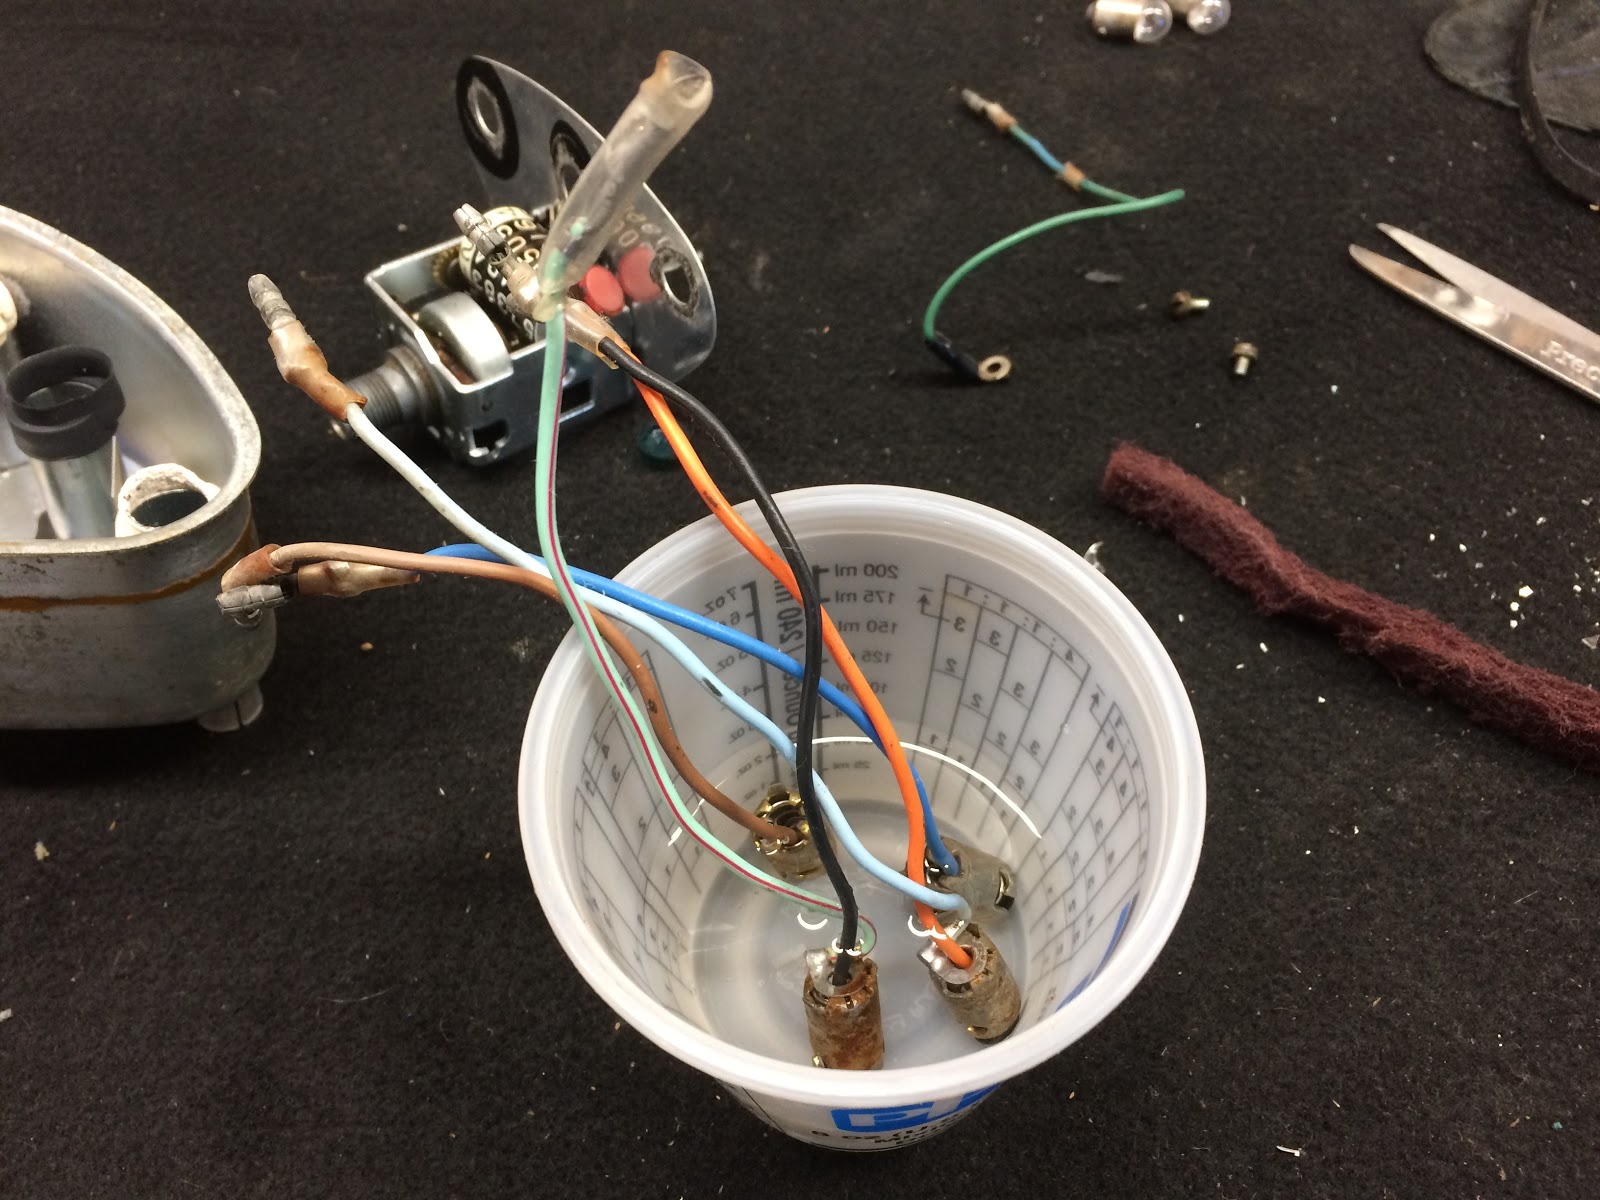
To free the actual speedo from the housing you just need to remove the two screws on the bottom of the housing and the speedo will come out through the front opening as a single assembly. All three indicator light lenses were loose in this speedo and looked to have been held on by some type of black adhesive when it was originally assembled.
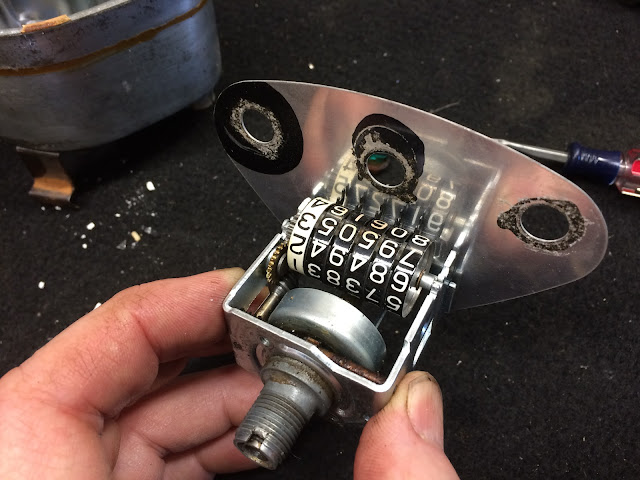
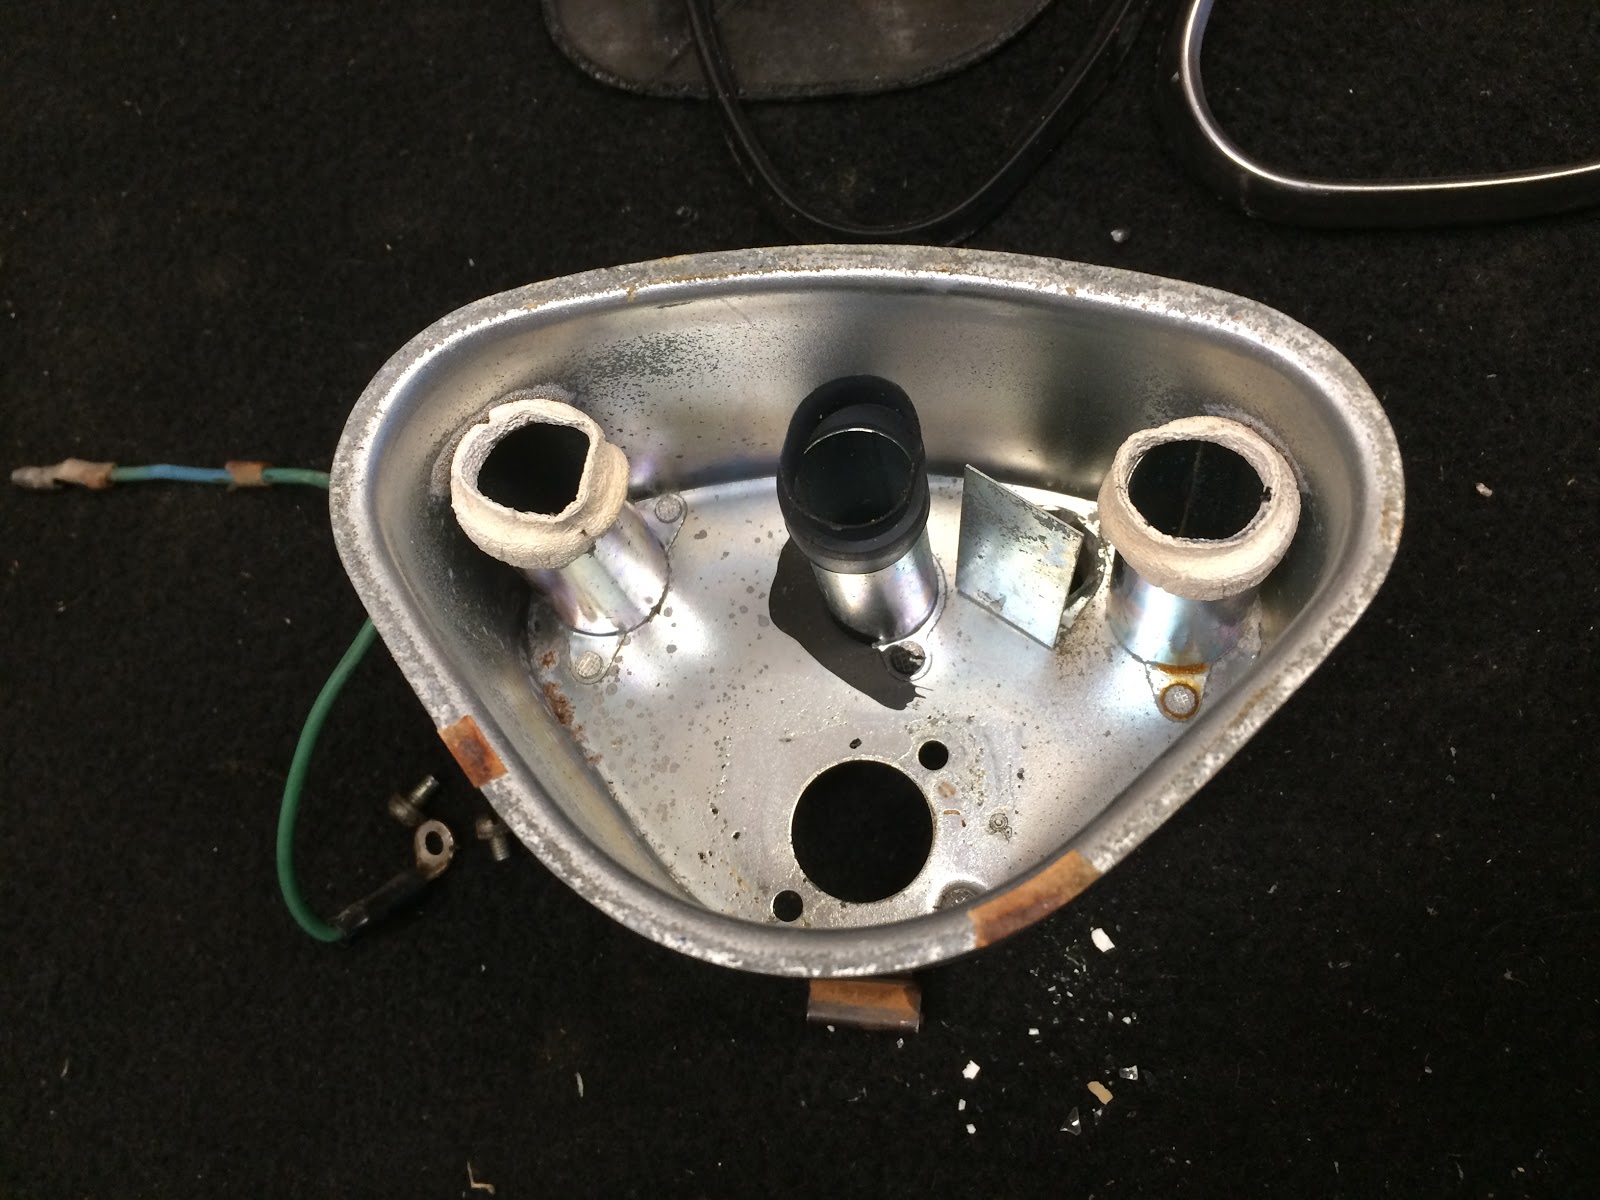
Looking down into the speedo housing the three indicator lights all had a tube capped by what at one time was a flexible rubber collar that sealed the tube to the back face of the speedo to keep the light focused on the respective lens. All of the rubber collars were very stiff and brittle and I decided to leave them be as the focus of this rebuild was to get the lenses reattached and a general clean up of the speedo.

Here is a shot showing the three lenses that need to be reattached along with the speedo and housing.
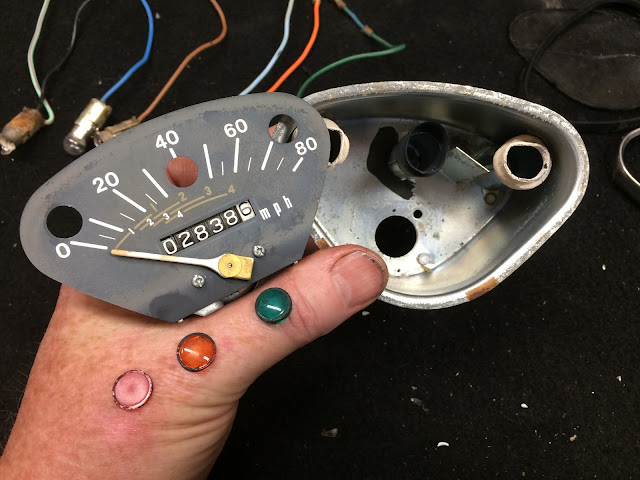
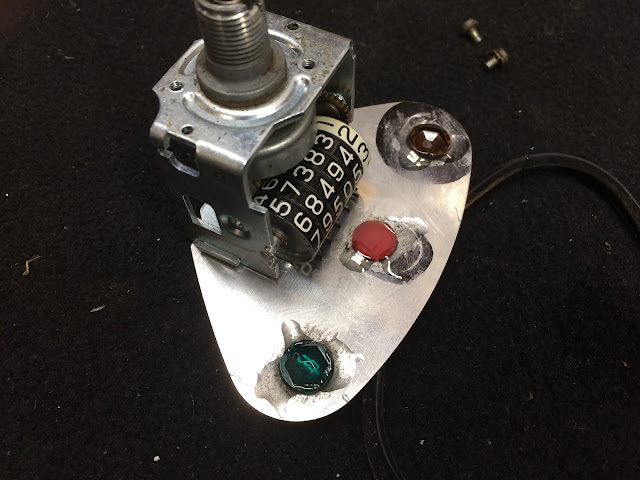
To reattach the lenses I cleaned the back of the face of the speedo with some Scotch Brite to remove to old adhesive and then set each of the lenses in their respective holes (there is a rim on the lens that locates and keeps it from falling through) and then applied a little two part epoxy around the rim of each lens.
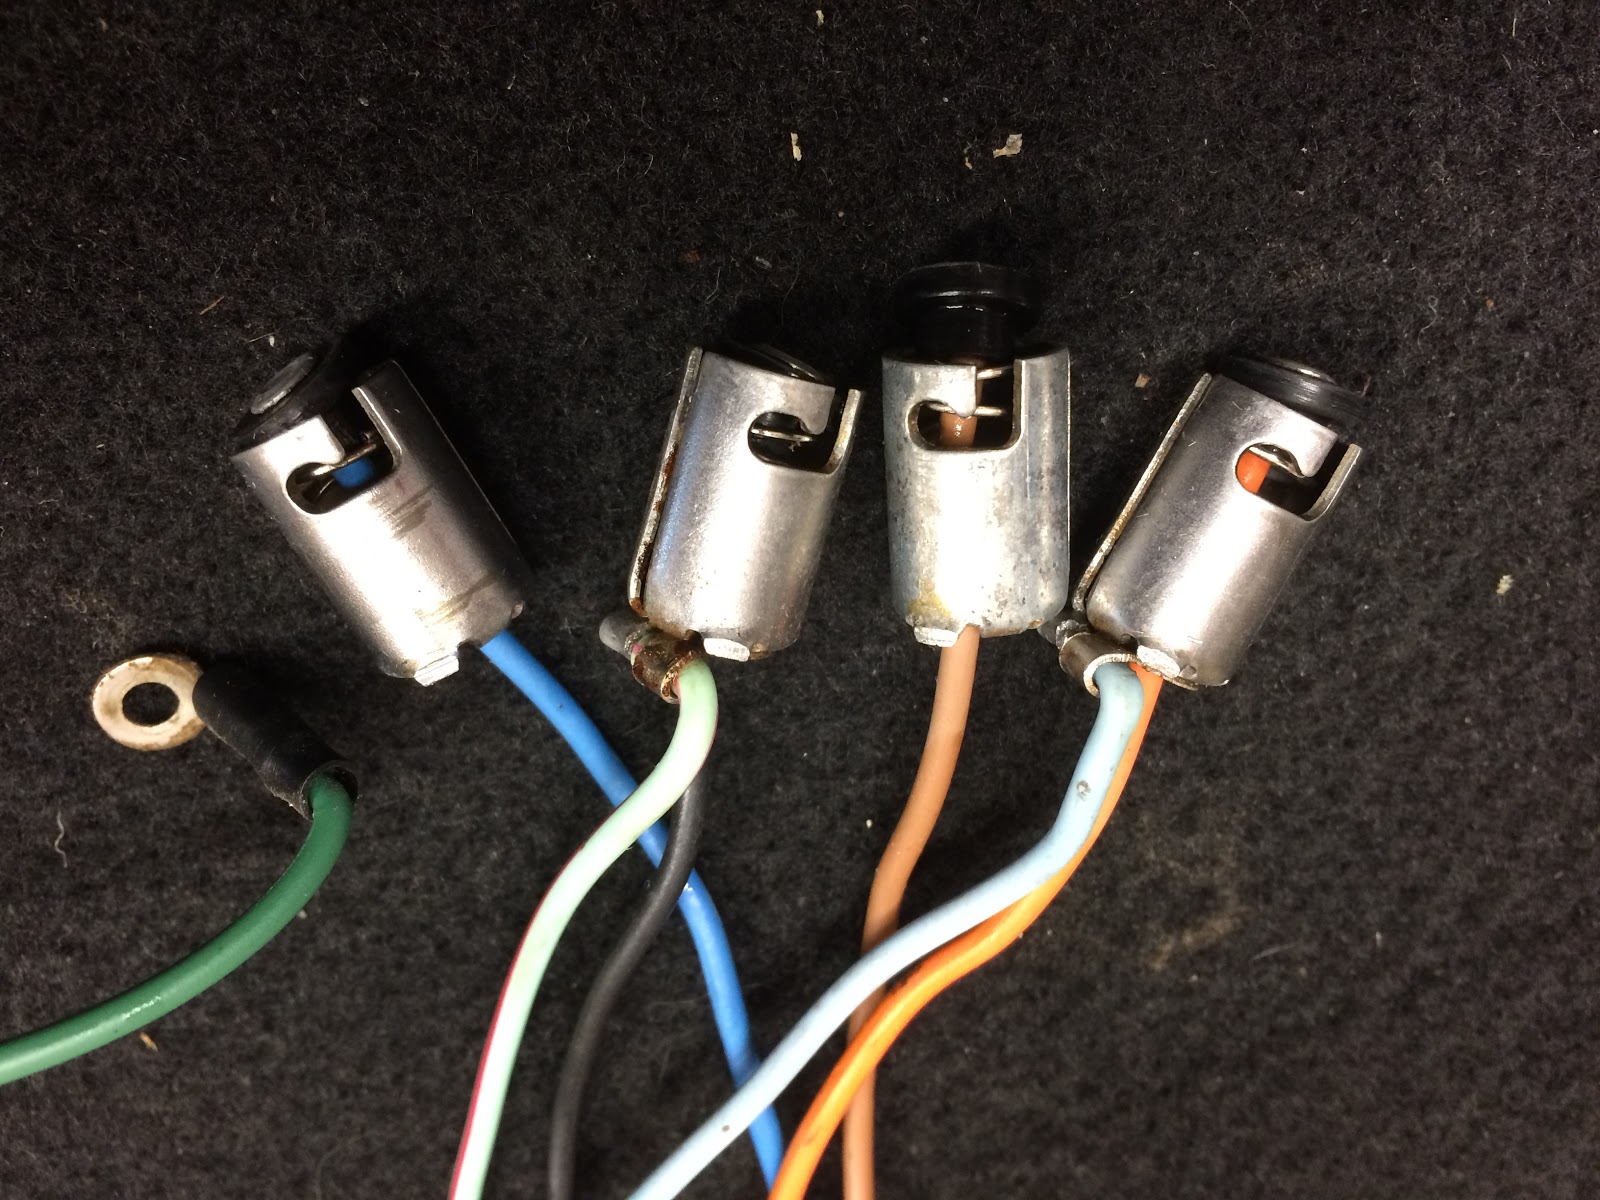
I next turned my attention to the bulb sockets which had some corrosion and soaked them in a little white vinegar to help remove the rust and they cleaned up nicely.

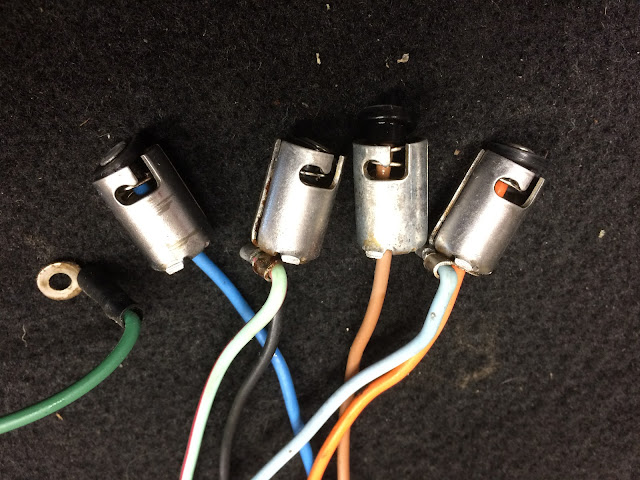
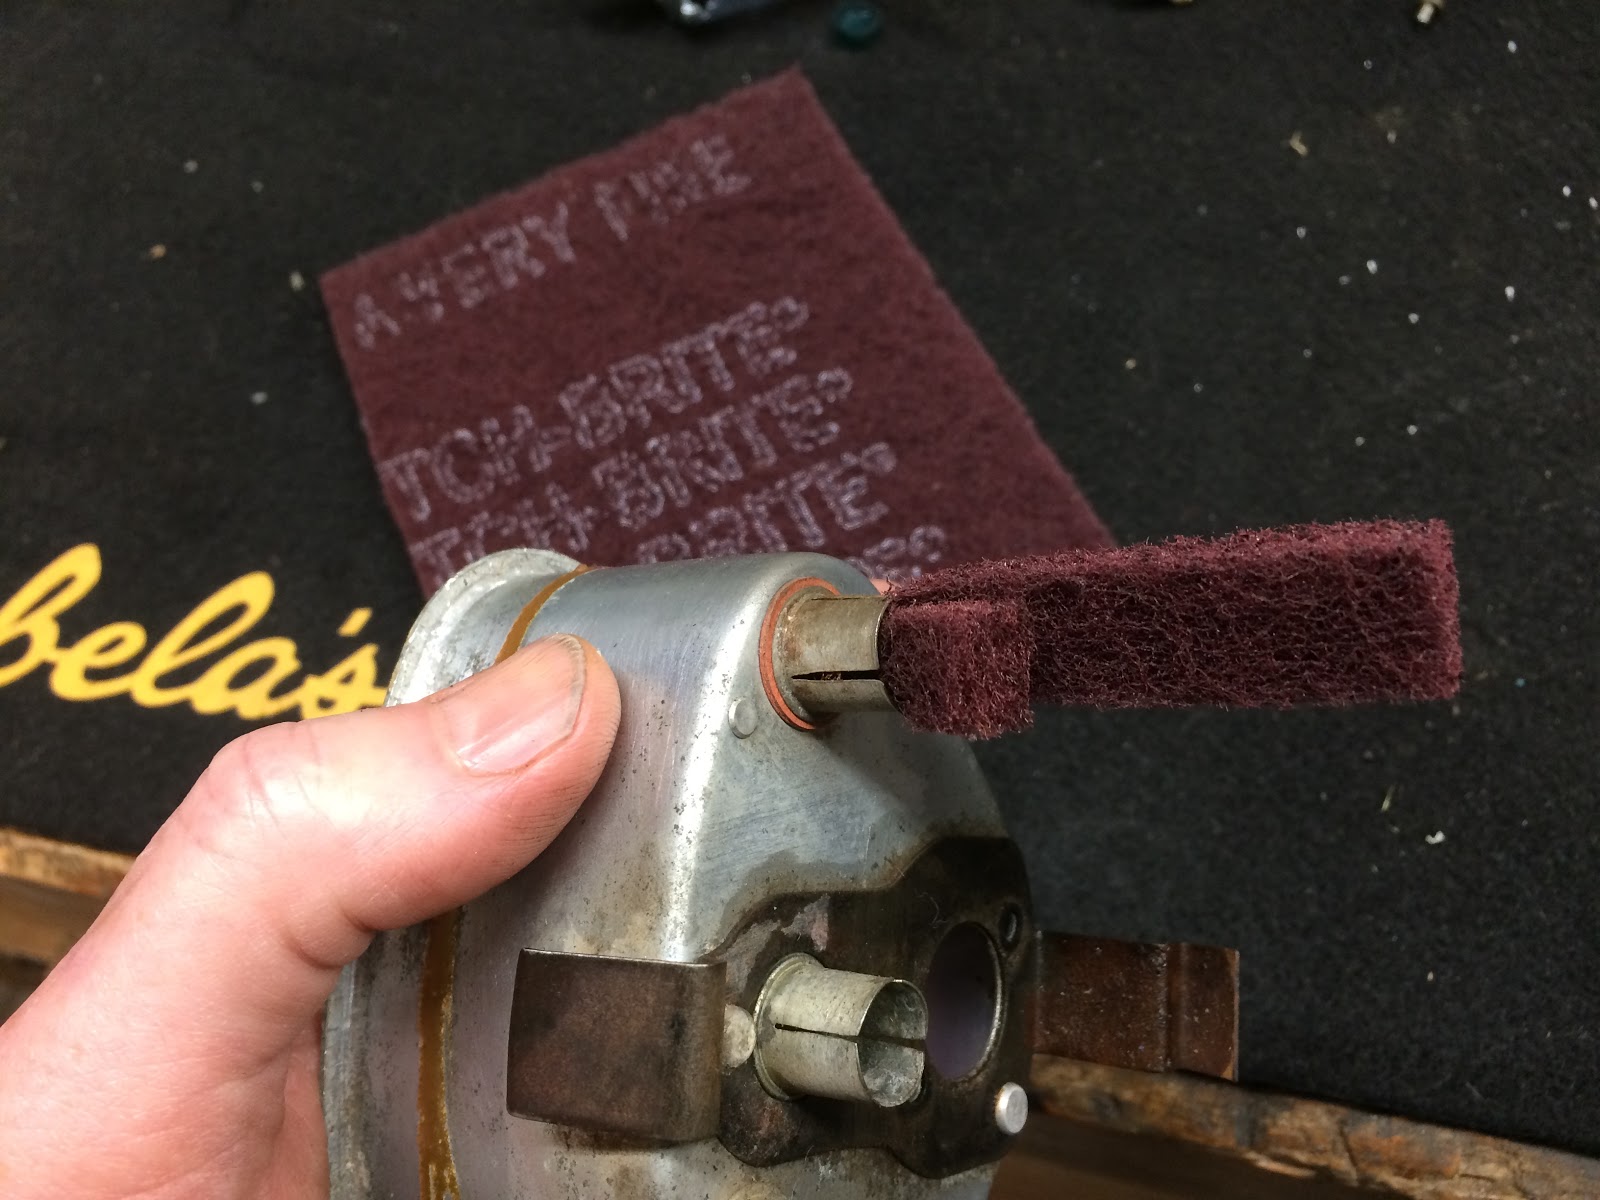
To clean the mating sockets on the bottom of the speedo housing I cut a strip of Scotch Brite folded it in half and then inserted in each of the sockets and twisted it around until the sockets were clean.

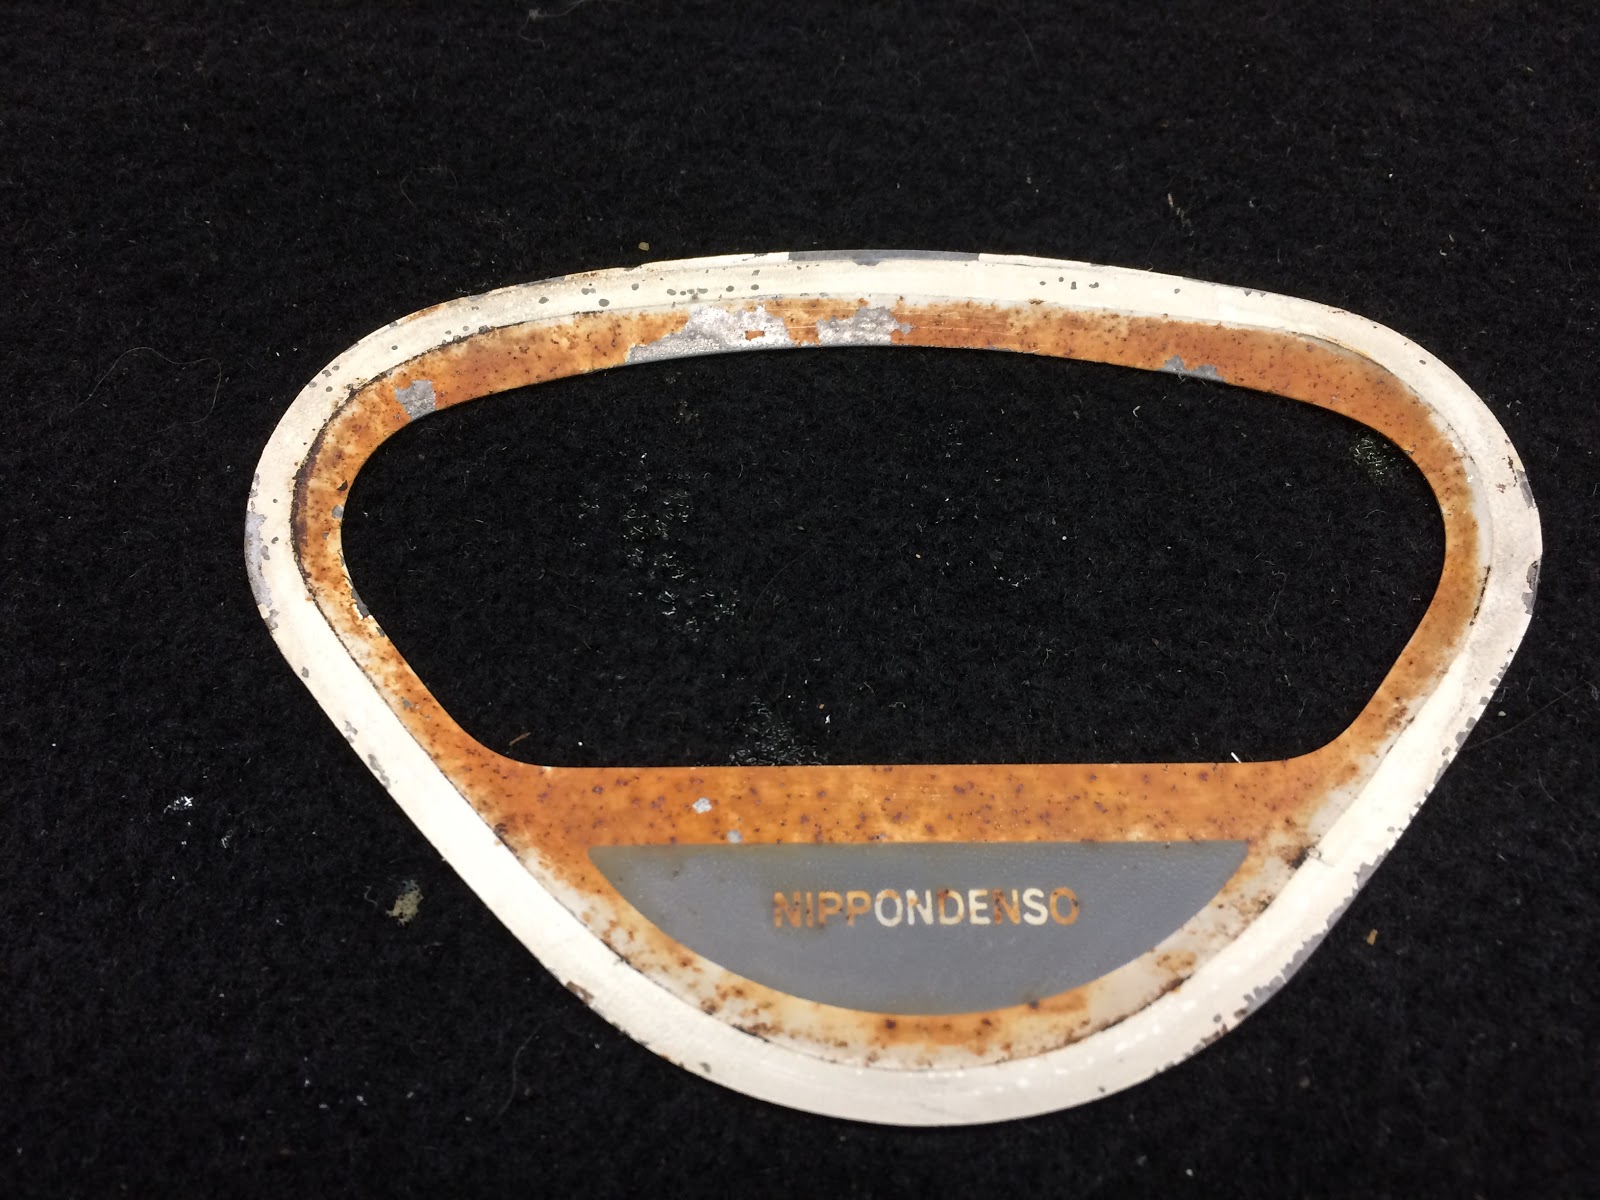
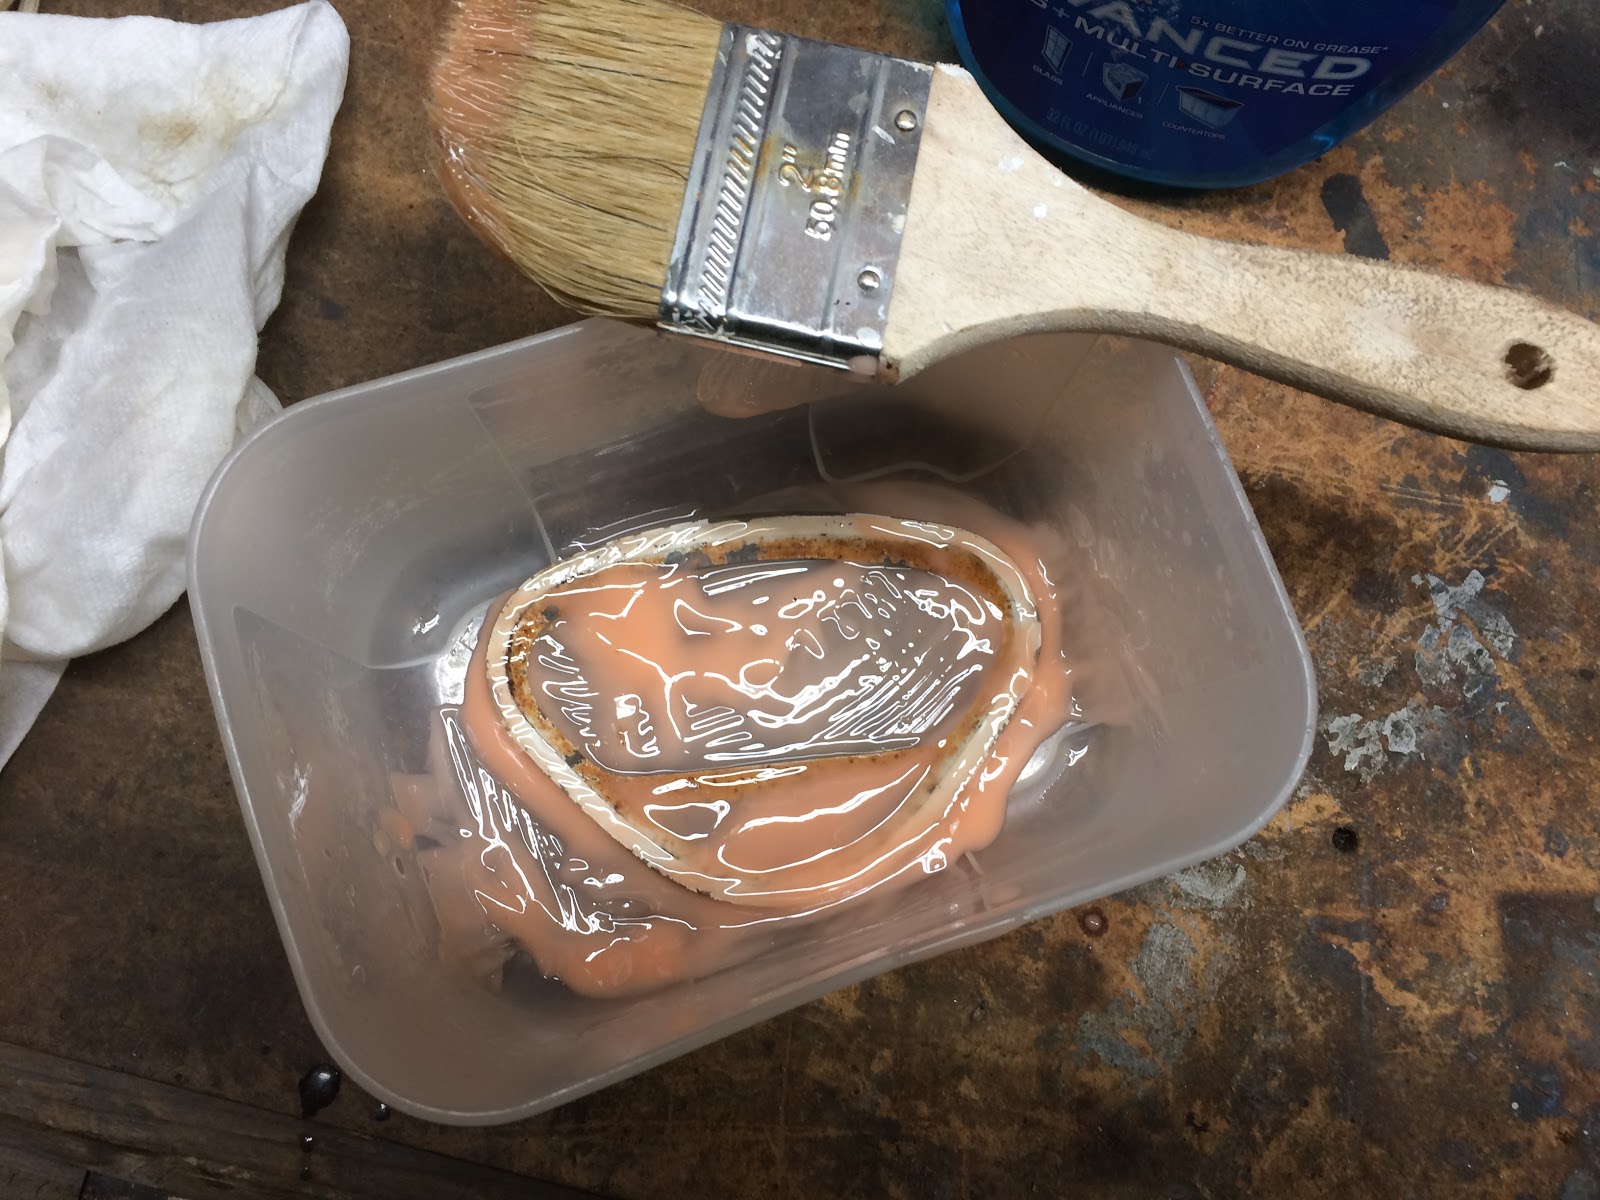
The next step was to try and clean up the plate that was under the front glass of the speedo. The plate is painted and had rust coming through the paint and really looked bad.

I tried to clean the plate but nothing worked so I stripped the plate with paint remover and painted it a solid red to match the headlight bucket (and also because I didn't have any white paint...).

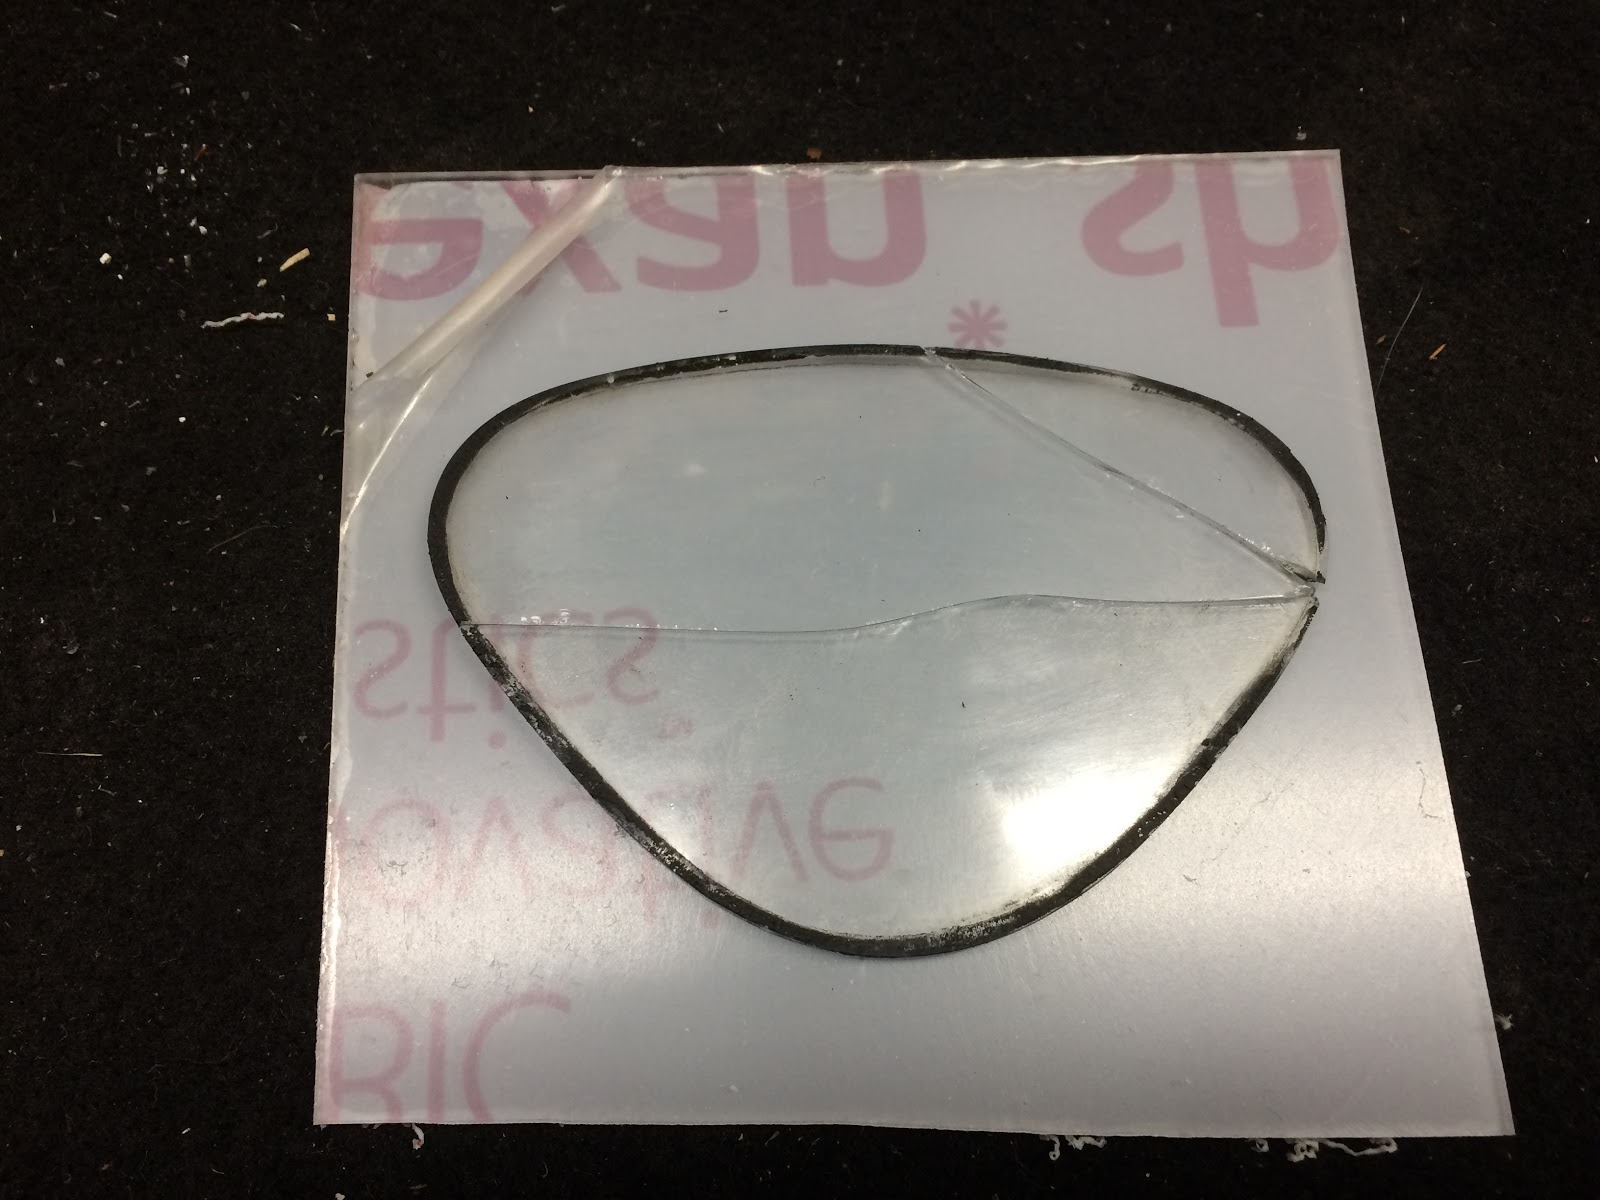
I also needed to replace the broken glass and decided to use some Lexan plastic that I had in the shop to make a replacement as it was the right thickness and is pretty scratch resistant. Another option would be to go to a stained glass shop and have them cut you a new one using the old glass as a pattern.

I would also add that when you are removing the rubber gasket that goes around the glass on the front of the speedo that you need to be very careful and not damage the very thin rubber rim of the gasket as it can very stuck to the glass and can easily tear. If it is an option you might be better off leaving the glass in the gasket and clean them as an assembly.
Another thing to watch out for is how you clean the face of the speedo. With this speedo I used Windex and a paper towel and it ended up starting to take small amounts of the paint off of the face of the speedo which sucked. In the end, I ended up using a suggestion from ctbale at the link I shared earlier and that was to use a very small amount of petroleum jelly and gently work it over the face of the speedo and it really makes it look nice.
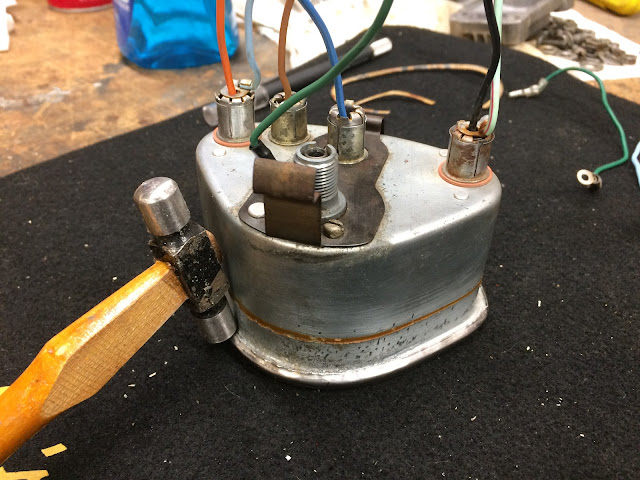
To reassemble the speedo you insert the speedo back into the housing and secure with the two screws you removed earlier making sure to install the ground wire under the appropriate screw. Next you would put the rubber gasket around you're front glass and then insert that down into the trim ring and then assemble the plate over the glass and then lastly take the speedo housing and insert it down into the trim ring. The last step is to roll the edge of the trim ring back over so that it hold everything together. For this speedo I used a very small hammer that I have and tapped around the rim which worked well at getting the trim ring secure, but the vibration from the hammer broke loose debris in the housing which collected on the inside of the glass (in my case plastic). Also, ctbale used a pair of modified pliers to roll over the trim ring and is what I might try on the next speedo and I would recommend to anyone planning to do this rebuild.
In the end the speedo looks acceptable and is completely functional, so I am happy. I screwed up in a few spots, but also learned a few things that will hopefully allow the next CT90 speedo rebuilds to go smoother. Before I install the speedo I will most likely open it back up and clean out the debris.
Now on to rebuilding the second 1969 CT90 speedo
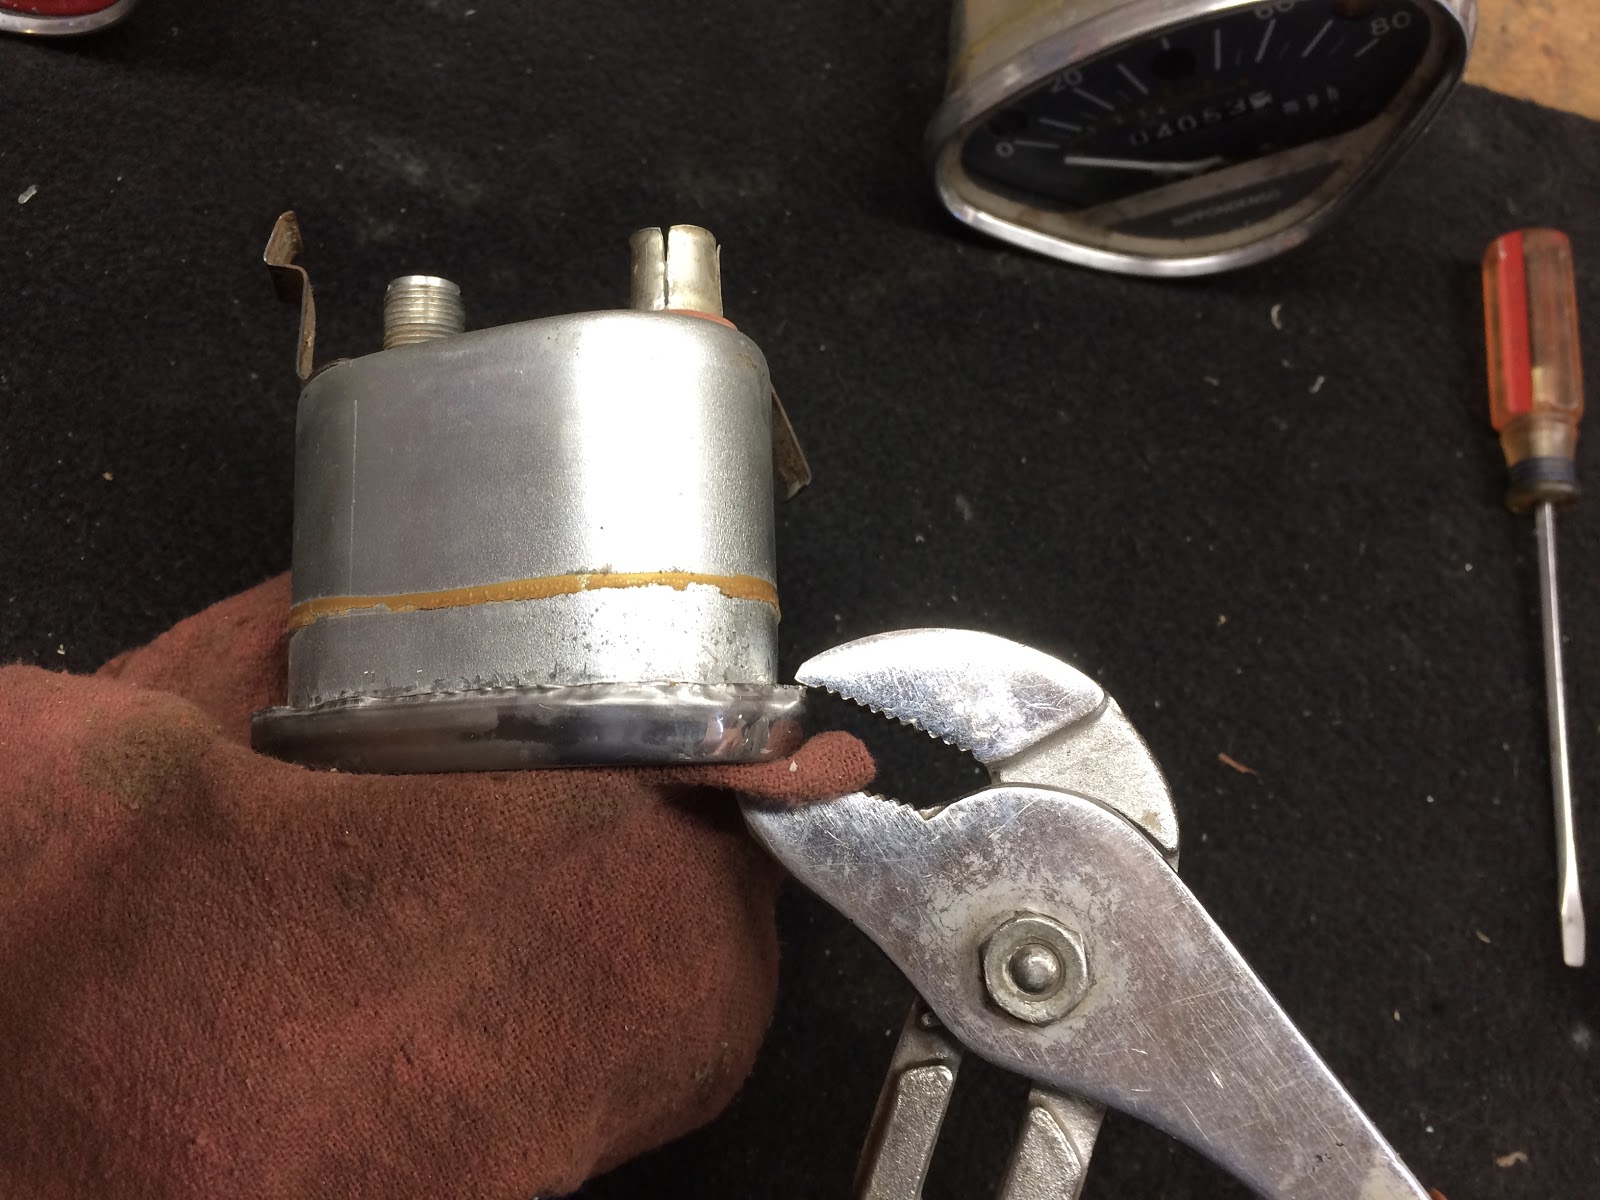
Now that I have a little experience under my belt with rebuilding a CT90 speedo, I followed the same approach outlined with the first speedo I rebuilt above except that I avoided all the mistakes I made and used channel locks padded with a rag to crimp back on the trim ring.

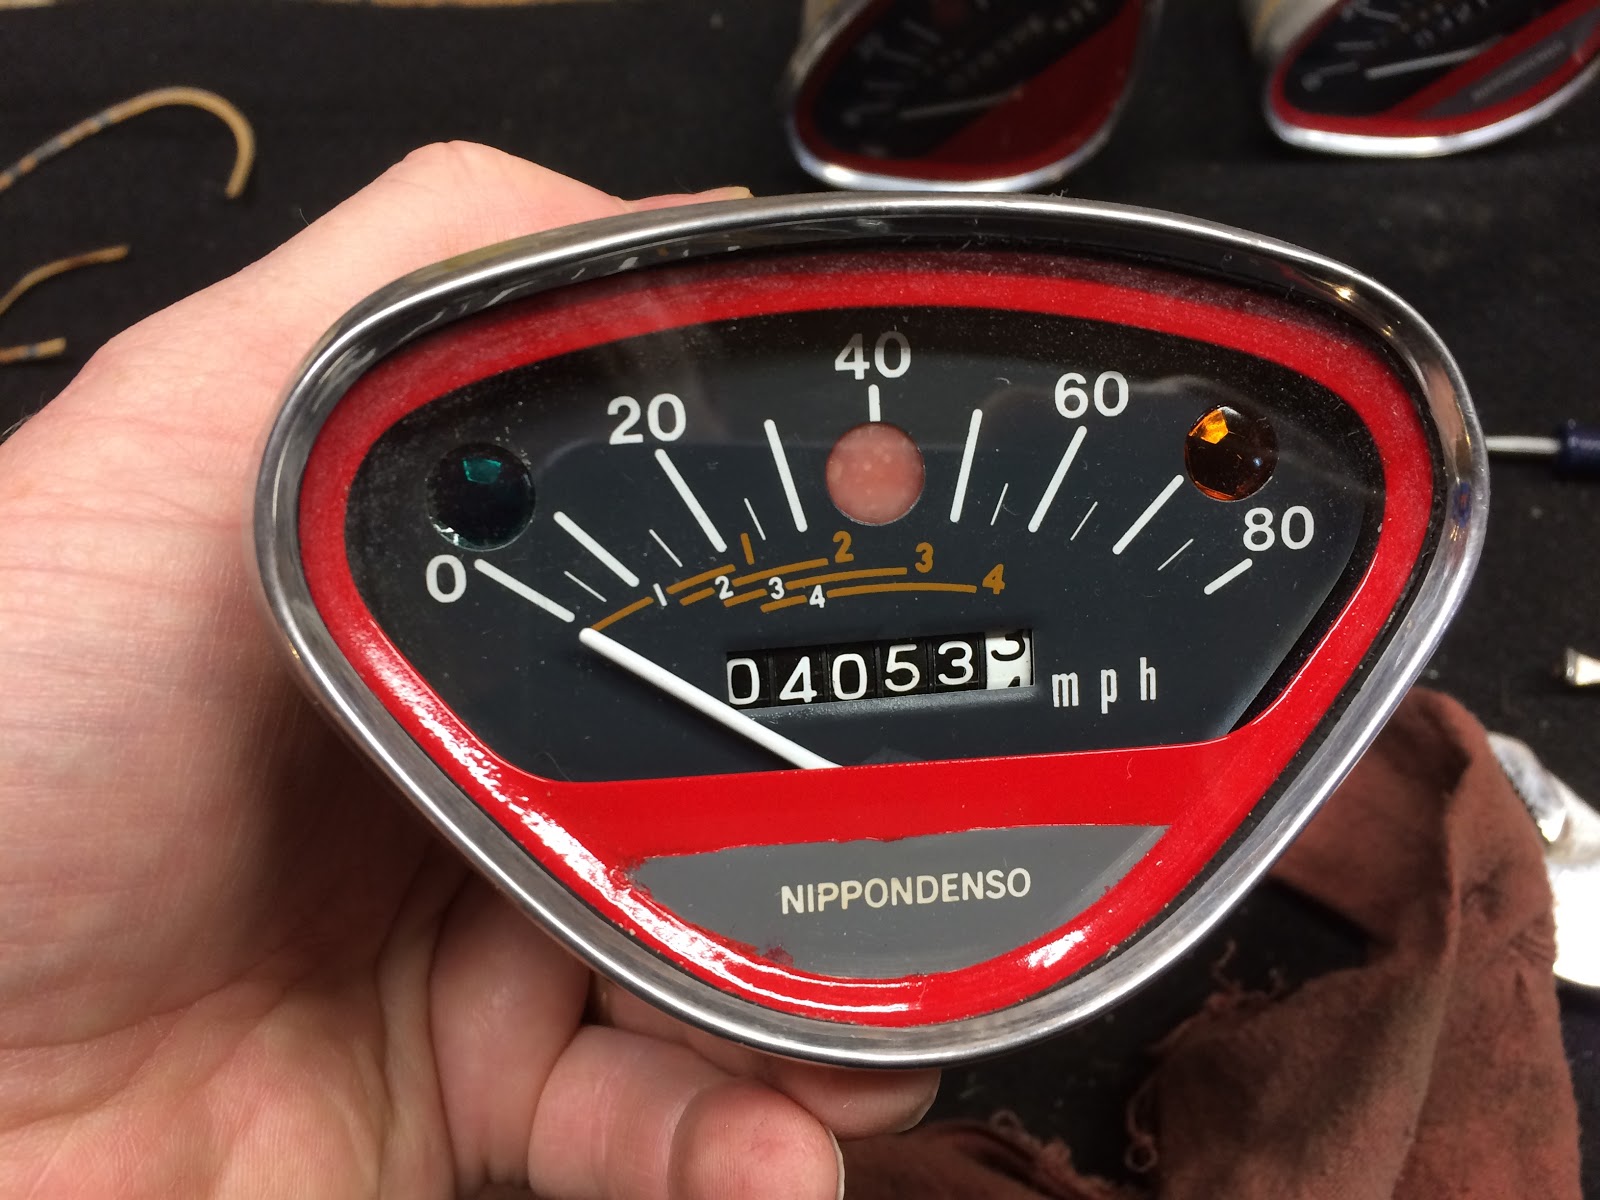
I am very happy with the end result on the second speedo.
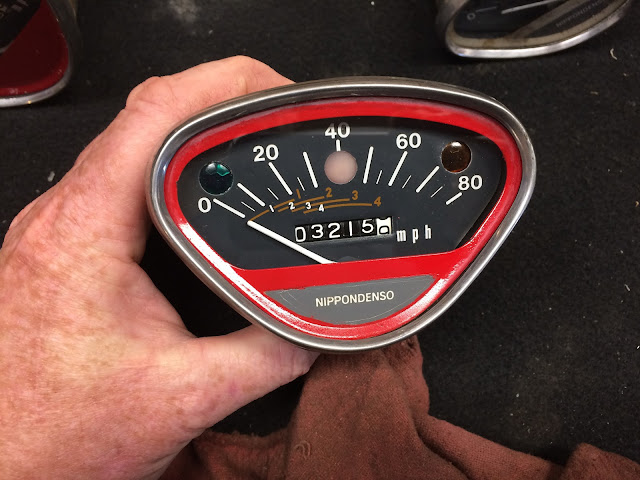
I still ended up painting the inner plate, but the area with "Nippondenso" was in good shape so I masked it with some blue painters tape and I think it turned out pretty good.
Now on to the third and last 1969 CT90 speedo rebuild
I followed the same process outlined above for a third time and this is how the last speedo turned out.

It was a little scary with the first speedo, but now that I have three under my belt it really isn't to bad of a task and the other CT90 speedo's I have to fix should be pretty easy. Here is a final shot showing all three of the completed 1969 CT90 speedo's that I rebuilt.
Here is a shot of the three speedo's off of my 1969 CT90's that I will be rebuilding;

In general the speedo's are not in two bad of shape, but the one on the left in the picture above seemed to have the most issues, so I figured it was the good first candidate for me to get my education with.
I did get a lot of good information from a post by ctbale on hondatrailcts that really helped get me started with the rebuild of my speedo's and it worth looking at if you plan on taking on this effort yourself.
After first removing the light bulb sockets from where they are installed on the bottom of the speedo the first real task is to remove the trim ring that holds the glass on the front of the speedo and this involves carefully bending up the lower lip of the trim ring. In looking for the right tool to pry up the lip I found that a cheap paint can opener like you can pick up at Home Depot for a buck works just perfectly.
Look for one that has a thin edge so it will slip easier under the lip, but just insert and then work your way around the lip prying up as you go.

Once you get the lip of the trim ring opened up you should be able to work it off the rim of the speedo housing. Now you shouldn't do what I did which is insert a screw driver and gently try and pry the trim ring off as I inserted the screw driver in just a little too far and ended up breaking the glass on the front of the speedo (life sucks sometimes...).
Once the trim ring has been removed, the glass which is in a rubber ring, and the plate underneath should separate from the speedo body. If they don't then you may need to take a razor blade or Xacto knife and work it in-between the paper gasket under the plate and the speedo body to free them up.

In the end you should have the pieces below except for the broken glass.
To free the actual speedo from the housing you just need to remove the two screws on the bottom of the housing and the speedo will come out through the front opening as a single assembly. All three indicator light lenses were loose in this speedo and looked to have been held on by some type of black adhesive when it was originally assembled.

Looking down into the speedo housing the three indicator lights all had a tube capped by what at one time was a flexible rubber collar that sealed the tube to the back face of the speedo to keep the light focused on the respective lens. All of the rubber collars were very stiff and brittle and I decided to leave them be as the focus of this rebuild was to get the lenses reattached and a general clean up of the speedo.
Here is a shot showing the three lenses that need to be reattached along with the speedo and housing.

To reattach the lenses I cleaned the back of the face of the speedo with some Scotch Brite to remove to old adhesive and then set each of the lenses in their respective holes (there is a rim on the lens that locates and keeps it from falling through) and then applied a little two part epoxy around the rim of each lens.

I next turned my attention to the bulb sockets which had some corrosion and soaked them in a little white vinegar to help remove the rust and they cleaned up nicely.
To clean the mating sockets on the bottom of the speedo housing I cut a strip of Scotch Brite folded it in half and then inserted in each of the sockets and twisted it around until the sockets were clean.
The next step was to try and clean up the plate that was under the front glass of the speedo. The plate is painted and had rust coming through the paint and really looked bad.
I tried to clean the plate but nothing worked so I stripped the plate with paint remover and painted it a solid red to match the headlight bucket (and also because I didn't have any white paint...).
I also needed to replace the broken glass and decided to use some Lexan plastic that I had in the shop to make a replacement as it was the right thickness and is pretty scratch resistant. Another option would be to go to a stained glass shop and have them cut you a new one using the old glass as a pattern.
I would also add that when you are removing the rubber gasket that goes around the glass on the front of the speedo that you need to be very careful and not damage the very thin rubber rim of the gasket as it can very stuck to the glass and can easily tear. If it is an option you might be better off leaving the glass in the gasket and clean them as an assembly.
Another thing to watch out for is how you clean the face of the speedo. With this speedo I used Windex and a paper towel and it ended up starting to take small amounts of the paint off of the face of the speedo which sucked. In the end, I ended up using a suggestion from ctbale at the link I shared earlier and that was to use a very small amount of petroleum jelly and gently work it over the face of the speedo and it really makes it look nice.
To reassemble the speedo you insert the speedo back into the housing and secure with the two screws you removed earlier making sure to install the ground wire under the appropriate screw. Next you would put the rubber gasket around you're front glass and then insert that down into the trim ring and then assemble the plate over the glass and then lastly take the speedo housing and insert it down into the trim ring. The last step is to roll the edge of the trim ring back over so that it hold everything together. For this speedo I used a very small hammer that I have and tapped around the rim which worked well at getting the trim ring secure, but the vibration from the hammer broke loose debris in the housing which collected on the inside of the glass (in my case plastic). Also, ctbale used a pair of modified pliers to roll over the trim ring and is what I might try on the next speedo and I would recommend to anyone planning to do this rebuild.

In the end the speedo looks acceptable and is completely functional, so I am happy. I screwed up in a few spots, but also learned a few things that will hopefully allow the next CT90 speedo rebuilds to go smoother. Before I install the speedo I will most likely open it back up and clean out the debris.

Now on to rebuilding the second 1969 CT90 speedo
Now that I have a little experience under my belt with rebuilding a CT90 speedo, I followed the same approach outlined with the first speedo I rebuilt above except that I avoided all the mistakes I made and used channel locks padded with a rag to crimp back on the trim ring.
I am very happy with the end result on the second speedo.

I still ended up painting the inner plate, but the area with "Nippondenso" was in good shape so I masked it with some blue painters tape and I think it turned out pretty good.
Now on to the third and last 1969 CT90 speedo rebuild
I followed the same process outlined above for a third time and this is how the last speedo turned out.
It was a little scary with the first speedo, but now that I have three under my belt it really isn't to bad of a task and the other CT90 speedo's I have to fix should be pretty easy. Here is a final shot showing all three of the completed 1969 CT90 speedo's that I rebuilt.

Helpful Links (Shop Manuals, Wire Diagram, Model Information, etc.)
This is very helpful. I need to reattach needle!
ReplyDelete