Helpful Link for Working on your CT90 Clutch
Rebuilding Your CT90 Clutch
I am getting ready to redo the clutch packs on two of my CT90's and this will be the first time I have ever dug into this part of the bike, so I started digging around on the web and came across this great post someone put together that I thought was really helpful so I thought I would pass on the link:
http://hondatrailcts.yuku.com/topic/647#.WOmDJDllChA
I hope this is of some help and good luck with your project.
Adjusting Your CT90 Clutch
To adjust your clutch you need to loosen the 14 mm locknut and then turn the adjustment screw with a blade screwdriver counter clockwise until you feel resistance and then turn the adjustment screw 1/8 of a turn clockwise. While holding the adjustment screw in place with the blade screwdriver, tighten the 14 mm locknut and you should be good to go.
Update as of 5/22/17
I was able to rebuild the clutch on my 1975 CT90 this last weekend following the instructions in the link I provided above. I was successful and found that the overall effort was not all that difficult and wouldn't hesitate recommending to anyone else who can turn a wrench to give it a shot.
I used the basic set of clutch disks and a cover gasket from DrATV, and both of these parts worked out great.
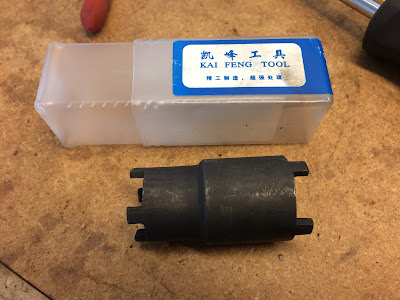
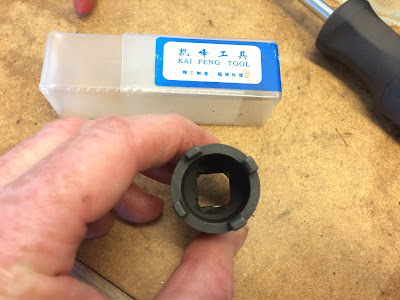
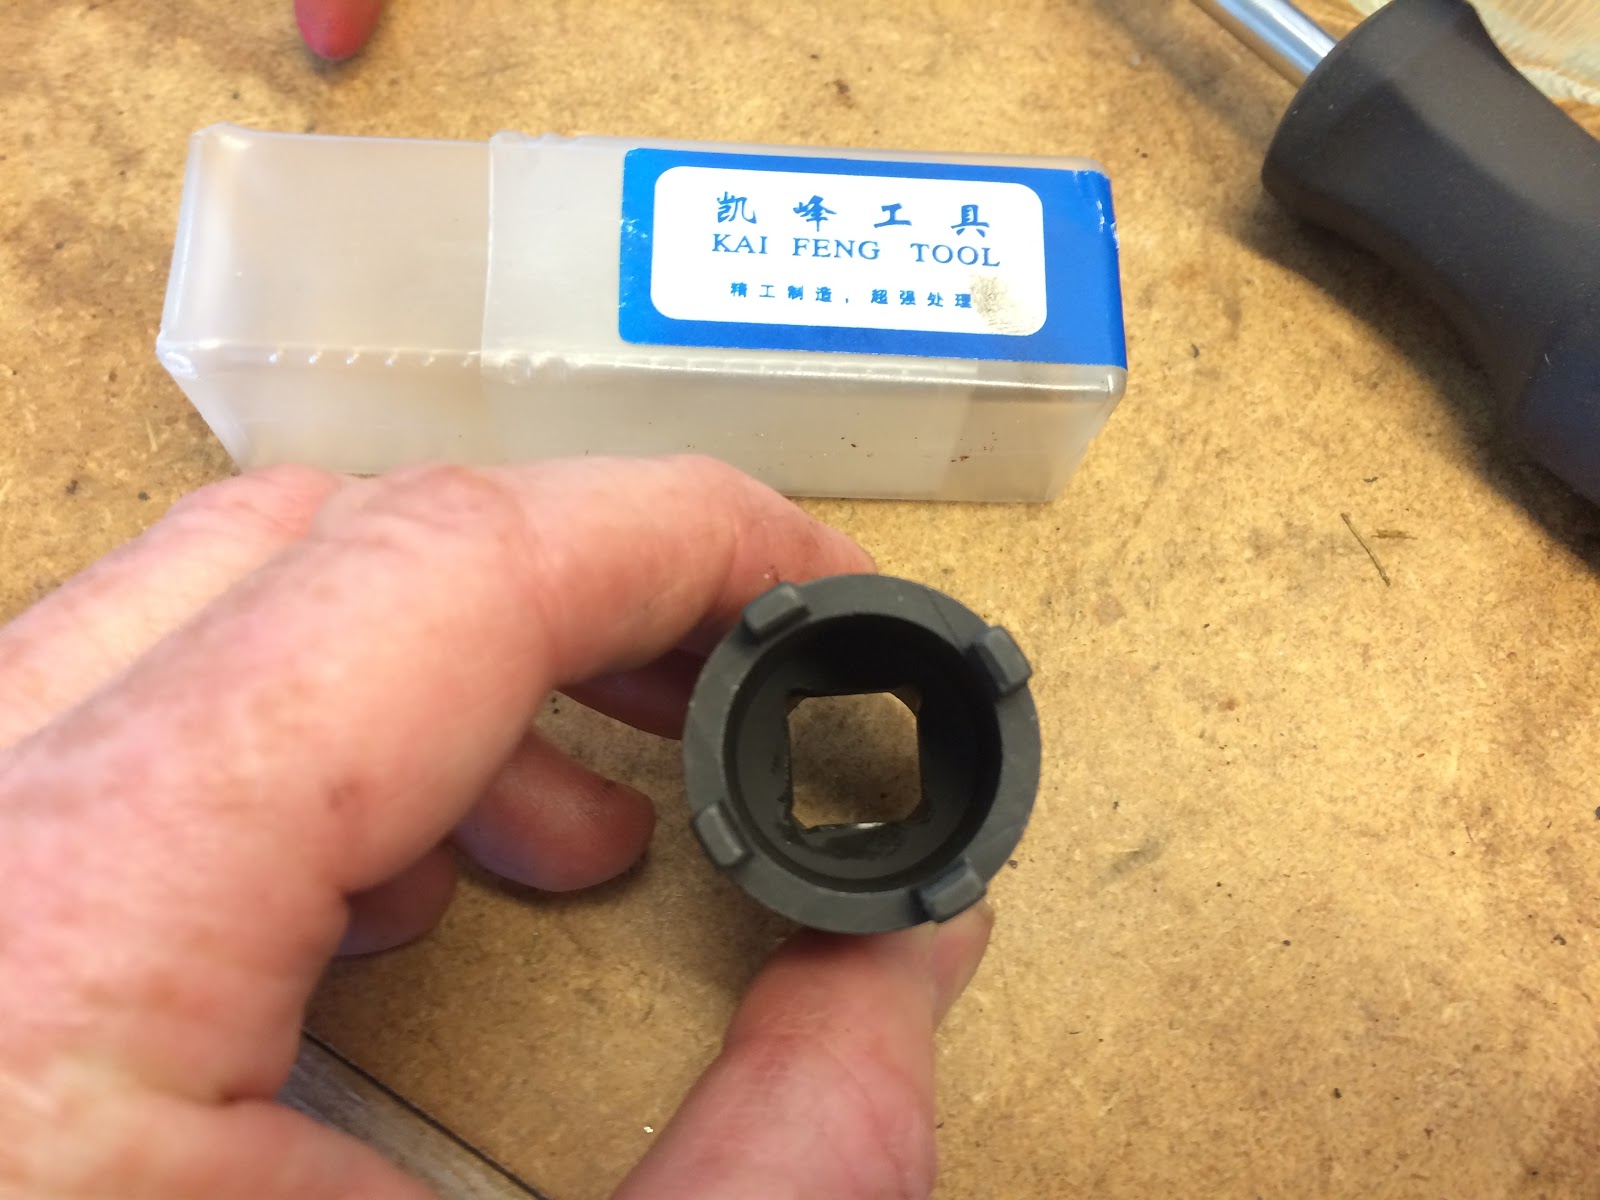
I bought a spanner tool off of eBay to loosen the nut that holds the clutch pack on the motor and the tool worked fine and was actually pretty cheap at $6.55. I included a couple of pictures of the tool below and a key point to note is that the center of the tool accepts standard 1/2 drive tools.
Instead of buying a tool to hold the clutch pack while I loosened the spanner nut, I ended up using a strap wrench combined with a bar clamp and a small pair of vise grips to hold the strap wrench strap tight. It was a little contrived, but it got the job done.

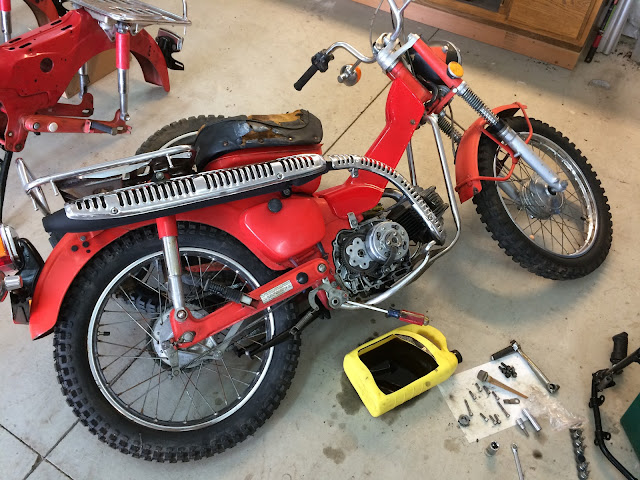
A few other things worth noting are that you need to remove the foot pegs/kick stand assembly from the bottom of the motor and to keep the rear brake pedal out of the way, I loosened up the adjustment at the rear brake to allow for excess travel of the pedal and then wedge in a small screw driver as shown in the picture above that kept the pedal out of the way while I worked on the clutch.
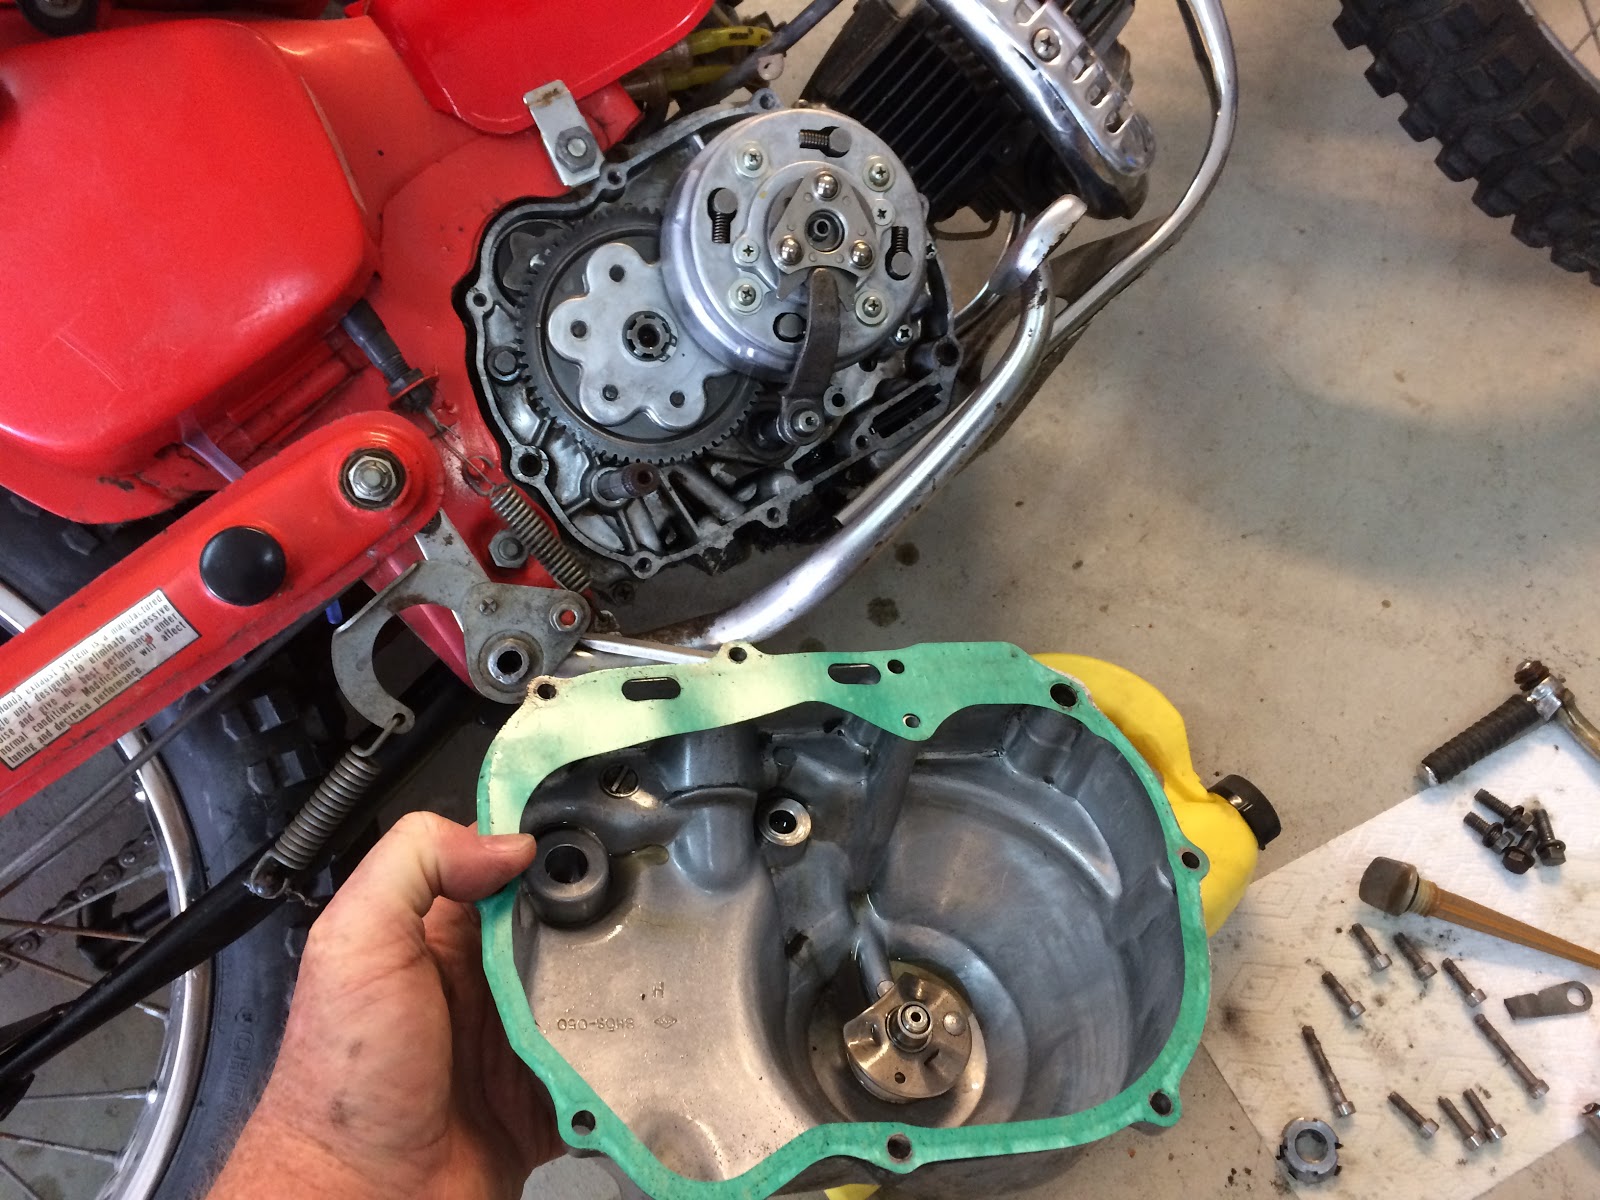
When I pulled the cover at the start to get access to the clutch I found some black slime in the bottom of the case that was really slick and I think had contaminated my clutch and was most likely cause of why my clutch was slipping. I cleaned away as much of the slime as I could and I will be changing my oil again in the near future to make sure I have flushed all of it out of the engine.
To help keep the hardware in place that actuates the clutch when you shift while I installed the side cover, I actually laid the bike on its side supported by a few tires I had in my shop. This really made things much easier and everything went together without any problems.

When I reassembled the side cover to the engine, I used stainless steel allen head screws where the threads had been coated with anti-seize compound. The next time I have to remove the side cover it shouldn't be a problem at all.
Helpful Links (Shop Manuals, Wire Diagram, Model Information, etc.)
I am getting ready to redo the clutch packs on two of my CT90's and this will be the first time I have ever dug into this part of the bike, so I started digging around on the web and came across this great post someone put together that I thought was really helpful so I thought I would pass on the link:
http://hondatrailcts.yuku.com/topic/647#.WOmDJDllChA
I hope this is of some help and good luck with your project.
Adjusting Your CT90 Clutch
To adjust your clutch you need to loosen the 14 mm locknut and then turn the adjustment screw with a blade screwdriver counter clockwise until you feel resistance and then turn the adjustment screw 1/8 of a turn clockwise. While holding the adjustment screw in place with the blade screwdriver, tighten the 14 mm locknut and you should be good to go.
Update as of 5/22/17
I was able to rebuild the clutch on my 1975 CT90 this last weekend following the instructions in the link I provided above. I was successful and found that the overall effort was not all that difficult and wouldn't hesitate recommending to anyone else who can turn a wrench to give it a shot.
I used the basic set of clutch disks and a cover gasket from DrATV, and both of these parts worked out great.
I bought a spanner tool off of eBay to loosen the nut that holds the clutch pack on the motor and the tool worked fine and was actually pretty cheap at $6.55. I included a couple of pictures of the tool below and a key point to note is that the center of the tool accepts standard 1/2 drive tools.

Instead of buying a tool to hold the clutch pack while I loosened the spanner nut, I ended up using a strap wrench combined with a bar clamp and a small pair of vise grips to hold the strap wrench strap tight. It was a little contrived, but it got the job done.
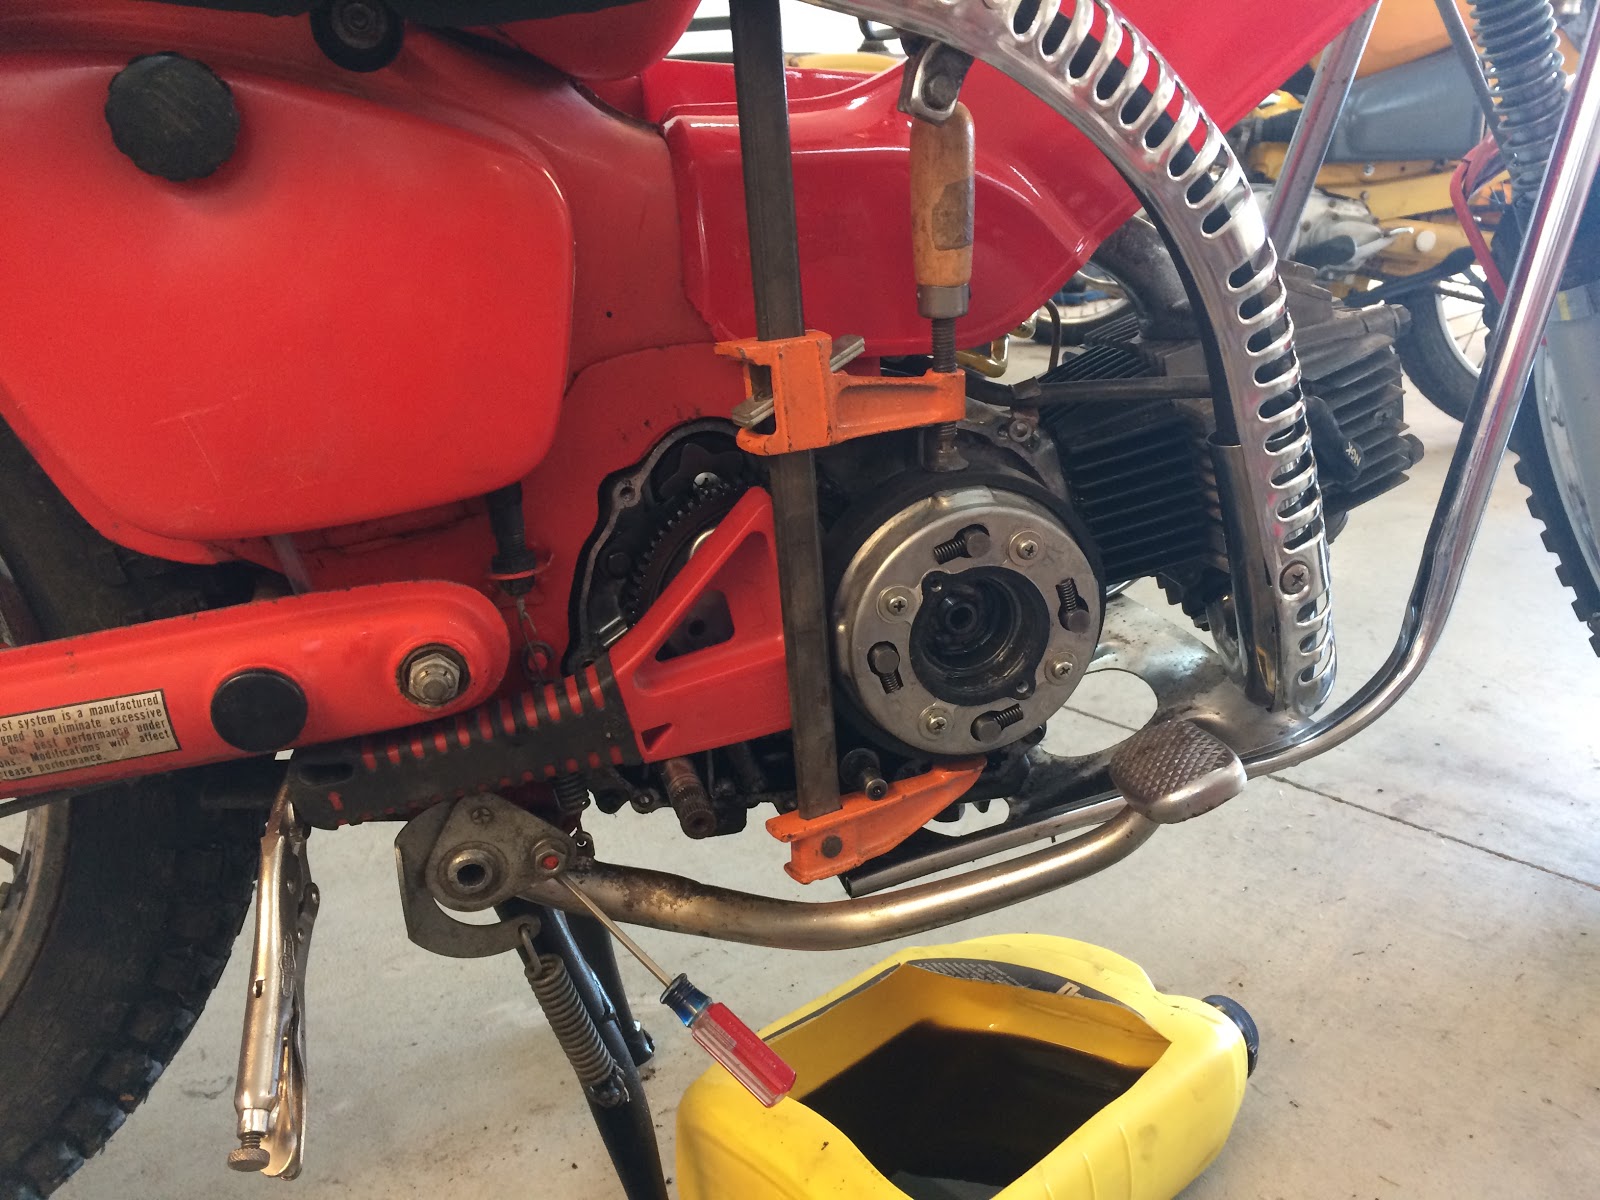
A few other things worth noting are that you need to remove the foot pegs/kick stand assembly from the bottom of the motor and to keep the rear brake pedal out of the way, I loosened up the adjustment at the rear brake to allow for excess travel of the pedal and then wedge in a small screw driver as shown in the picture above that kept the pedal out of the way while I worked on the clutch.
When I pulled the cover at the start to get access to the clutch I found some black slime in the bottom of the case that was really slick and I think had contaminated my clutch and was most likely cause of why my clutch was slipping. I cleaned away as much of the slime as I could and I will be changing my oil again in the near future to make sure I have flushed all of it out of the engine.
To help keep the hardware in place that actuates the clutch when you shift while I installed the side cover, I actually laid the bike on its side supported by a few tires I had in my shop. This really made things much easier and everything went together without any problems.

When I reassembled the side cover to the engine, I used stainless steel allen head screws where the threads had been coated with anti-seize compound. The next time I have to remove the side cover it shouldn't be a problem at all.
Helpful Links (Shop Manuals, Wire Diagram, Model Information, etc.)
Dont forget to pull out the oil pick up screen that is located lower right coner of main case and clean it
ReplyDelete